How to Arrange Flowers in a Vase
DIY tips for arranging flowers like a pro.
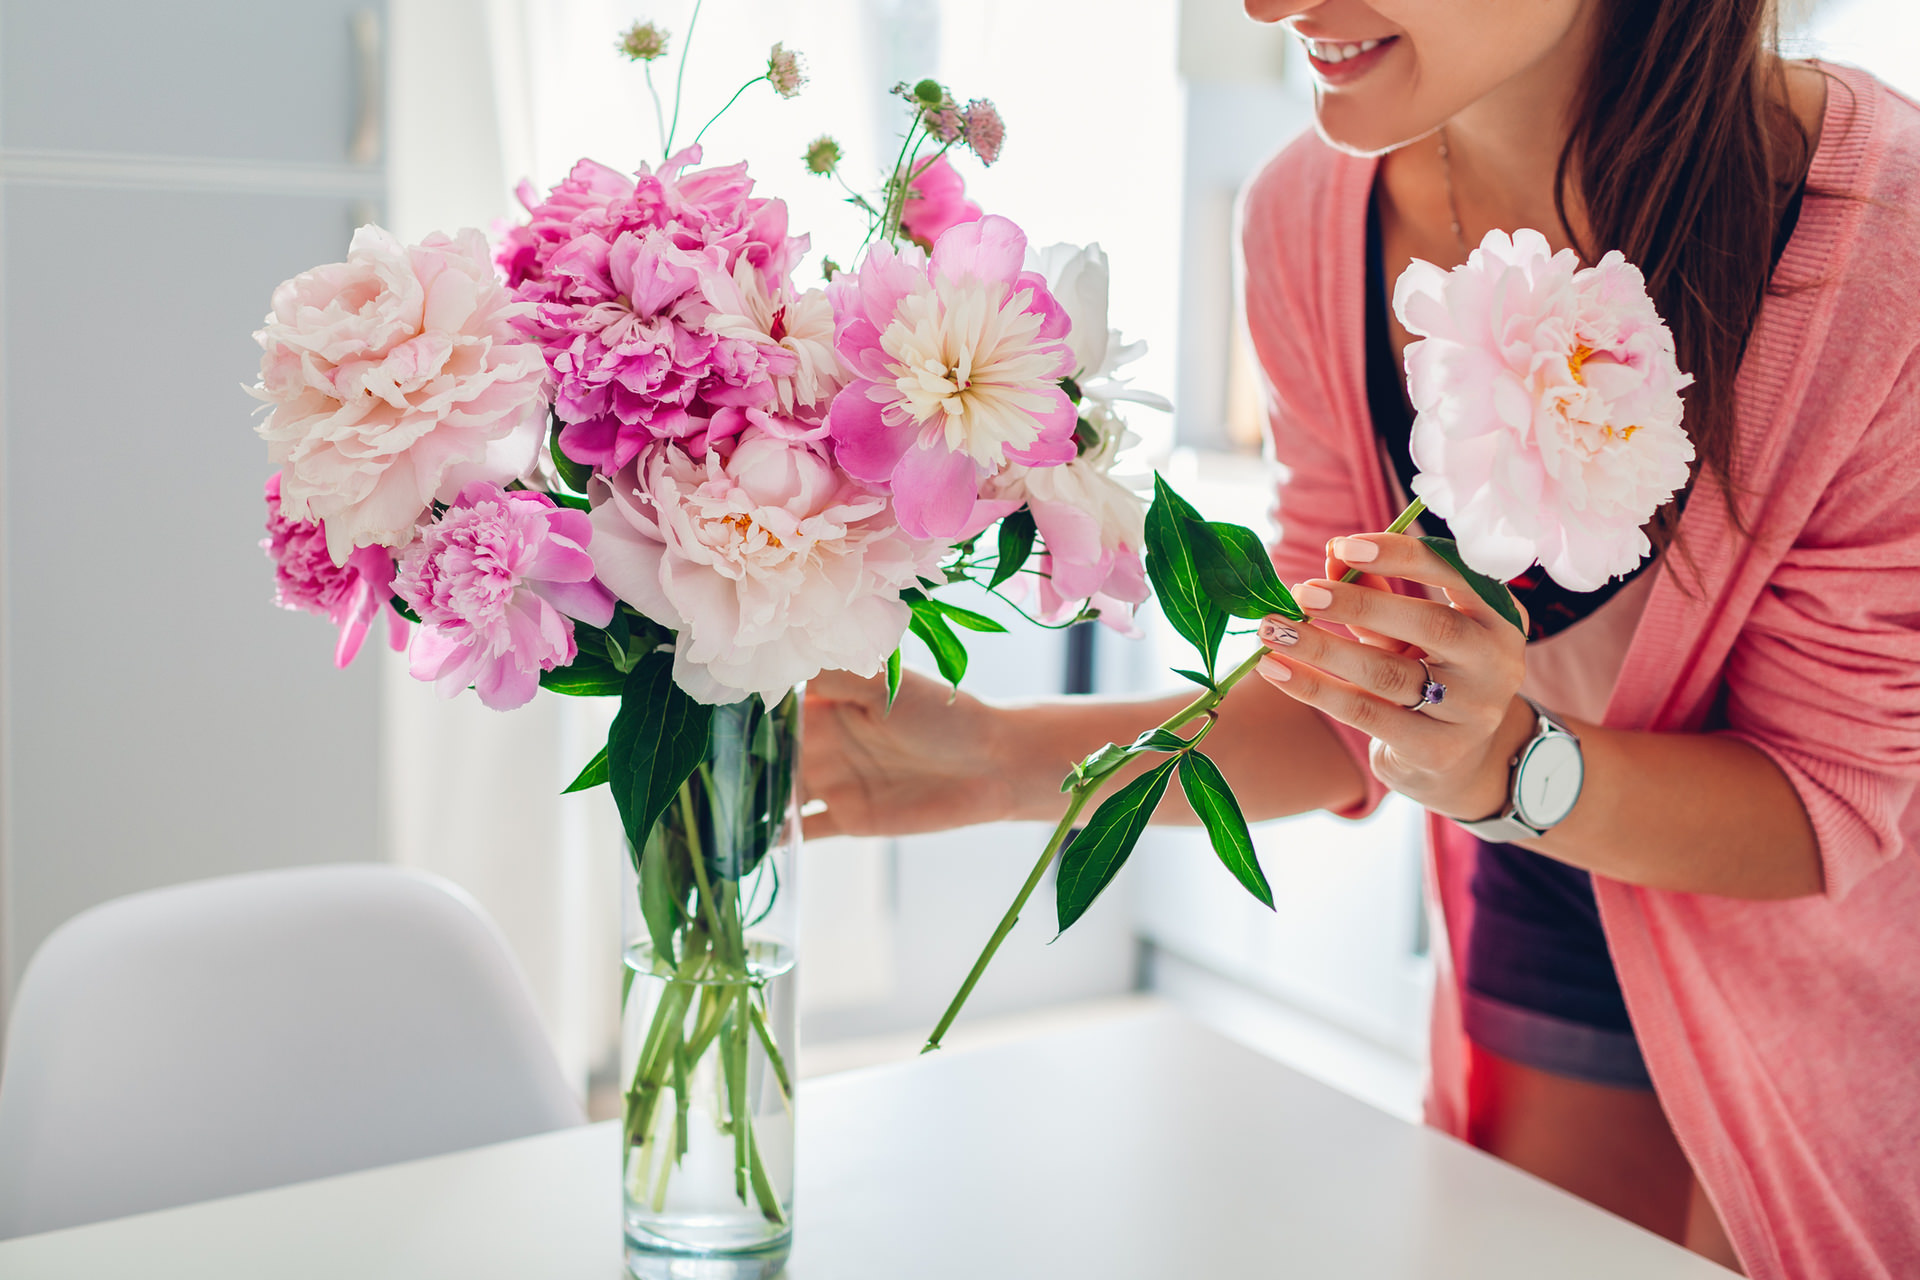
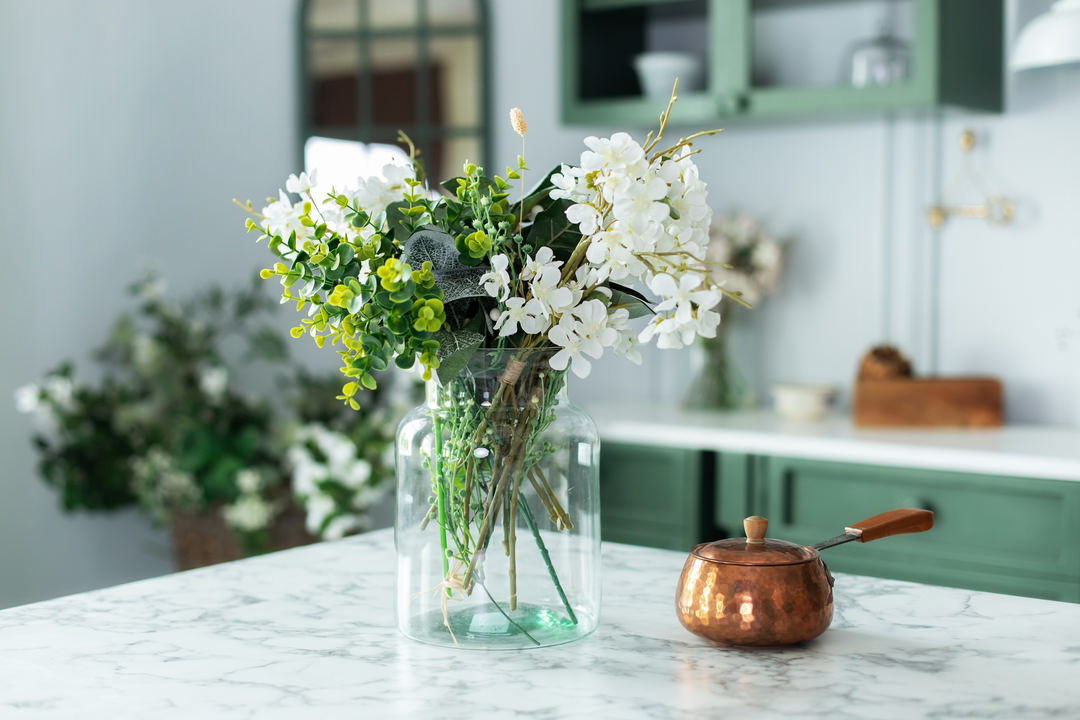
A fresh floral arrangement is a simple pleasure to enjoy. Fresh flowers instantly uplift the mood and provide life to any space, especially when gifted by a loved one or when wonderfully crafted by your own two hands. They help in adding texture and tenderness to a room that would otherwise be all hard surfaces. This goes for both the arrangement and vessel they are placed in. A vase too big or too small for the florals you choose can make or break your whole arrangement. Follow these simple steps for creating your own bouquet, including selecting the right size and style vase for your floral design.
1. Consider Arrangement Design/Color: Consider your space. What type of floral arrangement are you wanting to add? Maybe a simple bouquet to add a pop of color to a chairside table in your living space. Or even a dinner table centerpiece bouquet with a variety of focal and filler florals, which will add great texture and dimension into your space. No matter what you choose, be sure you consider the accent colors in your space and add complementary or alike colors.
2. Gather Your Tools: To successfully execute the perfect floral spray, you will need a few tools to assist you. Begin by setting aside a vase, wire netting/floral tape to secure the base florals, and a pair of floral shears or sharp scissors to trim each stem. Once all these materials are gathered, you’re ready to begin trimming the stems.
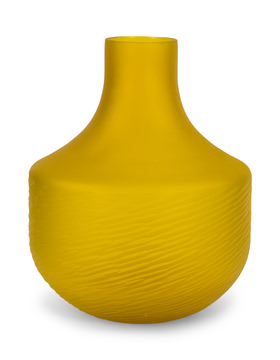
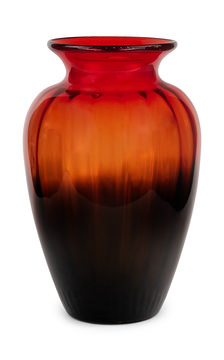
3. Select & Prepare Your Vase: When choosing the type of vase you will use for your arrangement, it is important to consider the type of flowers you will be using. For example, tulips tend to be a top-heavier flower and may require a taller vase to stay in their upright position. Whereas lighter flowers and fillers, such as lily’s, petunias and baby's breath, can be displayed in a wider, shorter vase.
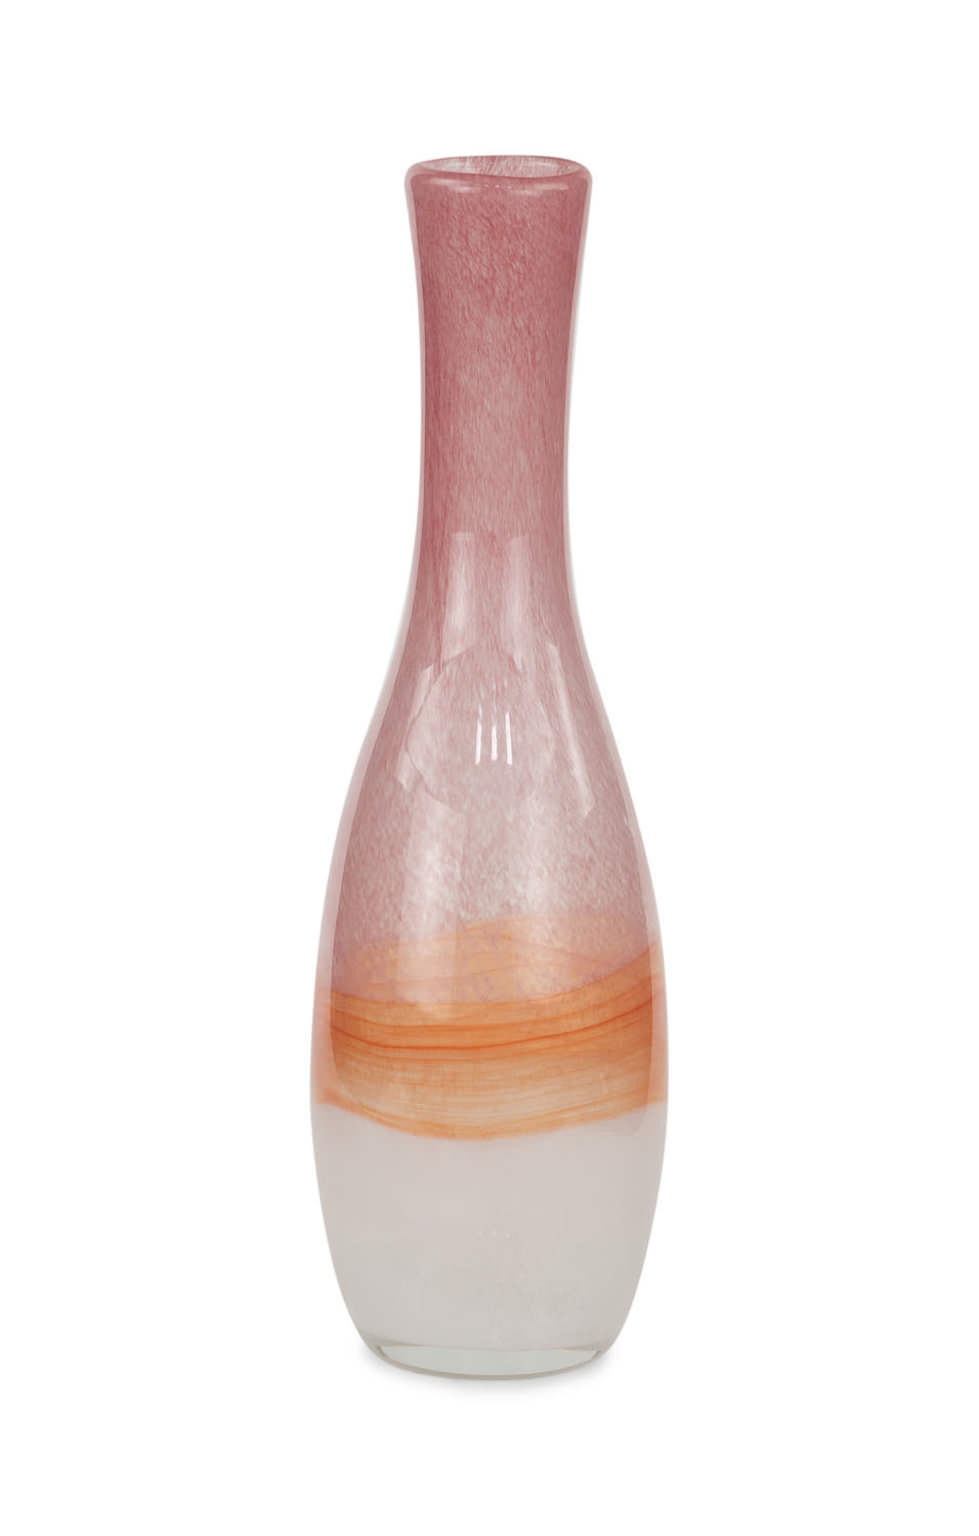
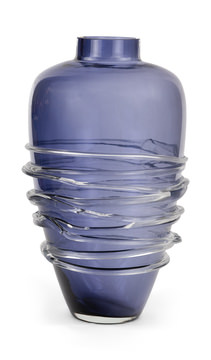
- Column Vases: Select a tall, slender column vase to display long-stemmed flowers like lilies and sunflowers to highlight their elegance. This is also the best option for exhibiting decorative branches or twigs because the narrower vase gives everything a sleeker, more controlled appearance.
- Hourglass Vases: The hourglass vase is not only a staple vase but incredibly versatile. Shorter-stemmed flowers with large, spherical heads, like roses, hydrangeas and peonies, work best in this kind of vase.
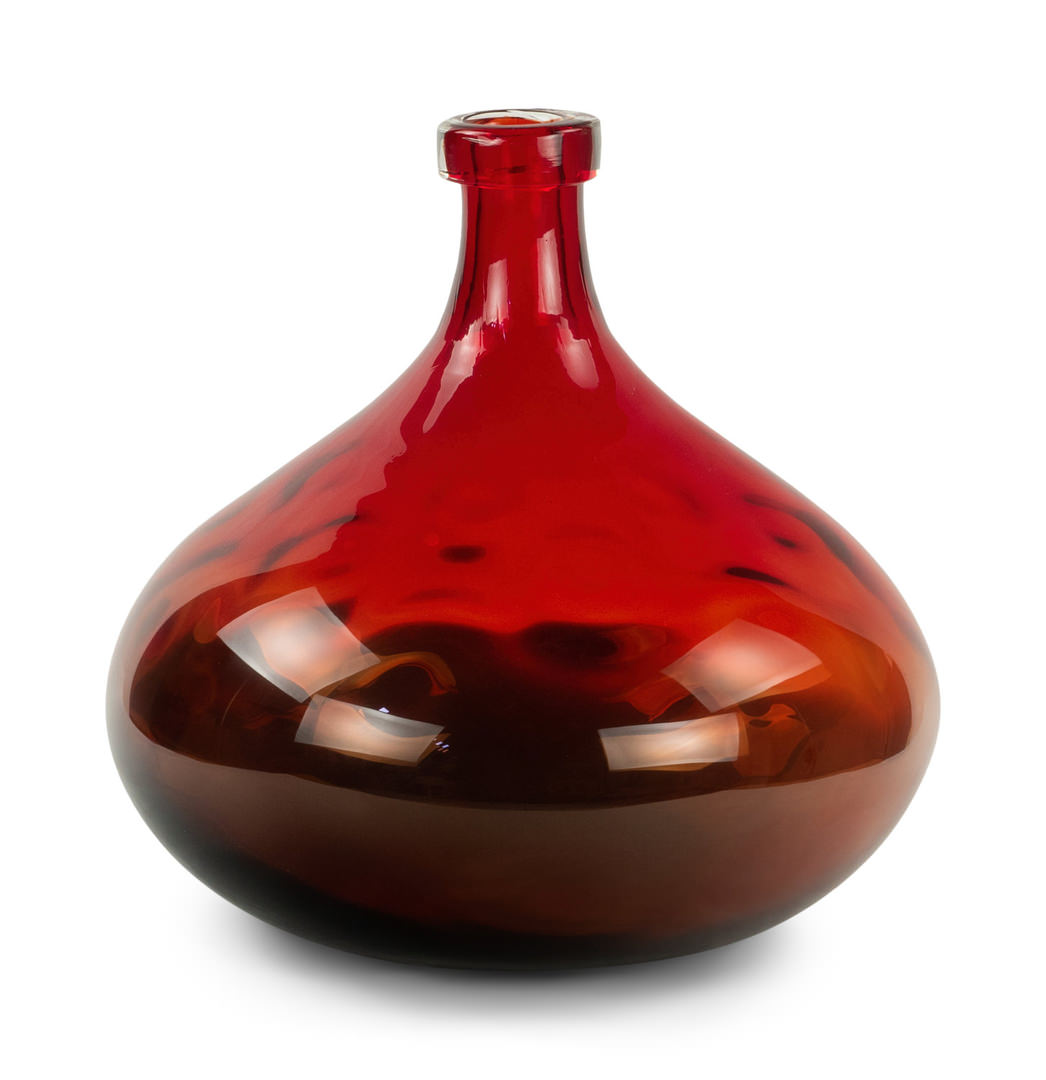
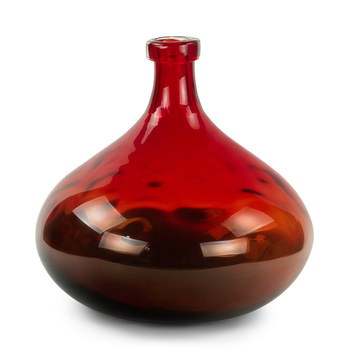
- Round Vases: The rounded shape of the vase truly helps accentuate the tightly bound roses or tulips.
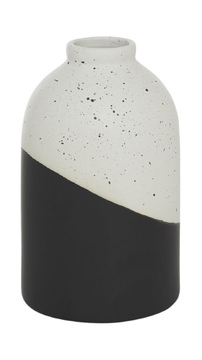
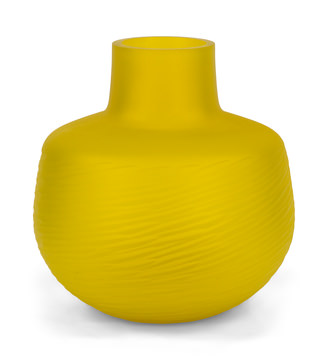
- Bud Vases: Being short and round in size, these vases are the best for showcasing individual stems or a cluster of petite blooms.
4. Gather & Cut Your Flowers: You may be tempted to simply plop your flowers in the closest vase and let them be. However, there is a method on how to arrange flowers in a vase to get the most out of your design. Begin first by removing any extra leaves or petals from the stems. This will help the rest of the bouquet last longer. After the bouquet is cleaned up, be sure to make a diagonal cut on the bottom of each stem. Now, your cut stems are ready to be placed into the prepared vase with water and food.
5. Create a Greenery Base: The greenery layer of your arrangement is the base, so it should be a substantial amount without overcrowding the vase too much. Put the longest foliage branches in the floral wire netting to start your arrangement. Starting here will allow you to rapidly establish the shape of your arrangement, which will act as the basis for the remaining greenery stems. Remember, you can always add more greenery filler later, if need be!
6. Add Focal Flowers: Focal florals act as the focus point of your arrangement. This is where you will truly bring in your color and “statement” florals. One tip is to add these flowers in odd numbers for a more natural arrangement look.
7. Add Filler Flowers: You’ve made it to the filler step, and your arrangement should be looking close to complete! In this step, you can go back and add some smaller flowers in clusters of three to five to fill in any empty space. Similarly to focal, adding in odd amounts will look more natural in the final bouquet!
8. Finishing Touches: Now is the time to add some subtle touches such as baby's breath to bring a hint of contrast to your bouquet. Consider also taking a step back and analyzing your arrangement from afar. This way you can truly see any finishing adjustments that need to be made!
Now that all the textures and colors have come together, you can take in the beautiful piece of art you have just created. By following these steps on how to arrange flowers, you are guaranteed to get endless amounts of compliments from all who enter your home and see the work you have done—a true florist in the making!
