Trimming the Tree
How to decorate your Christmas tree to reflect your style and impress your holiday guests.
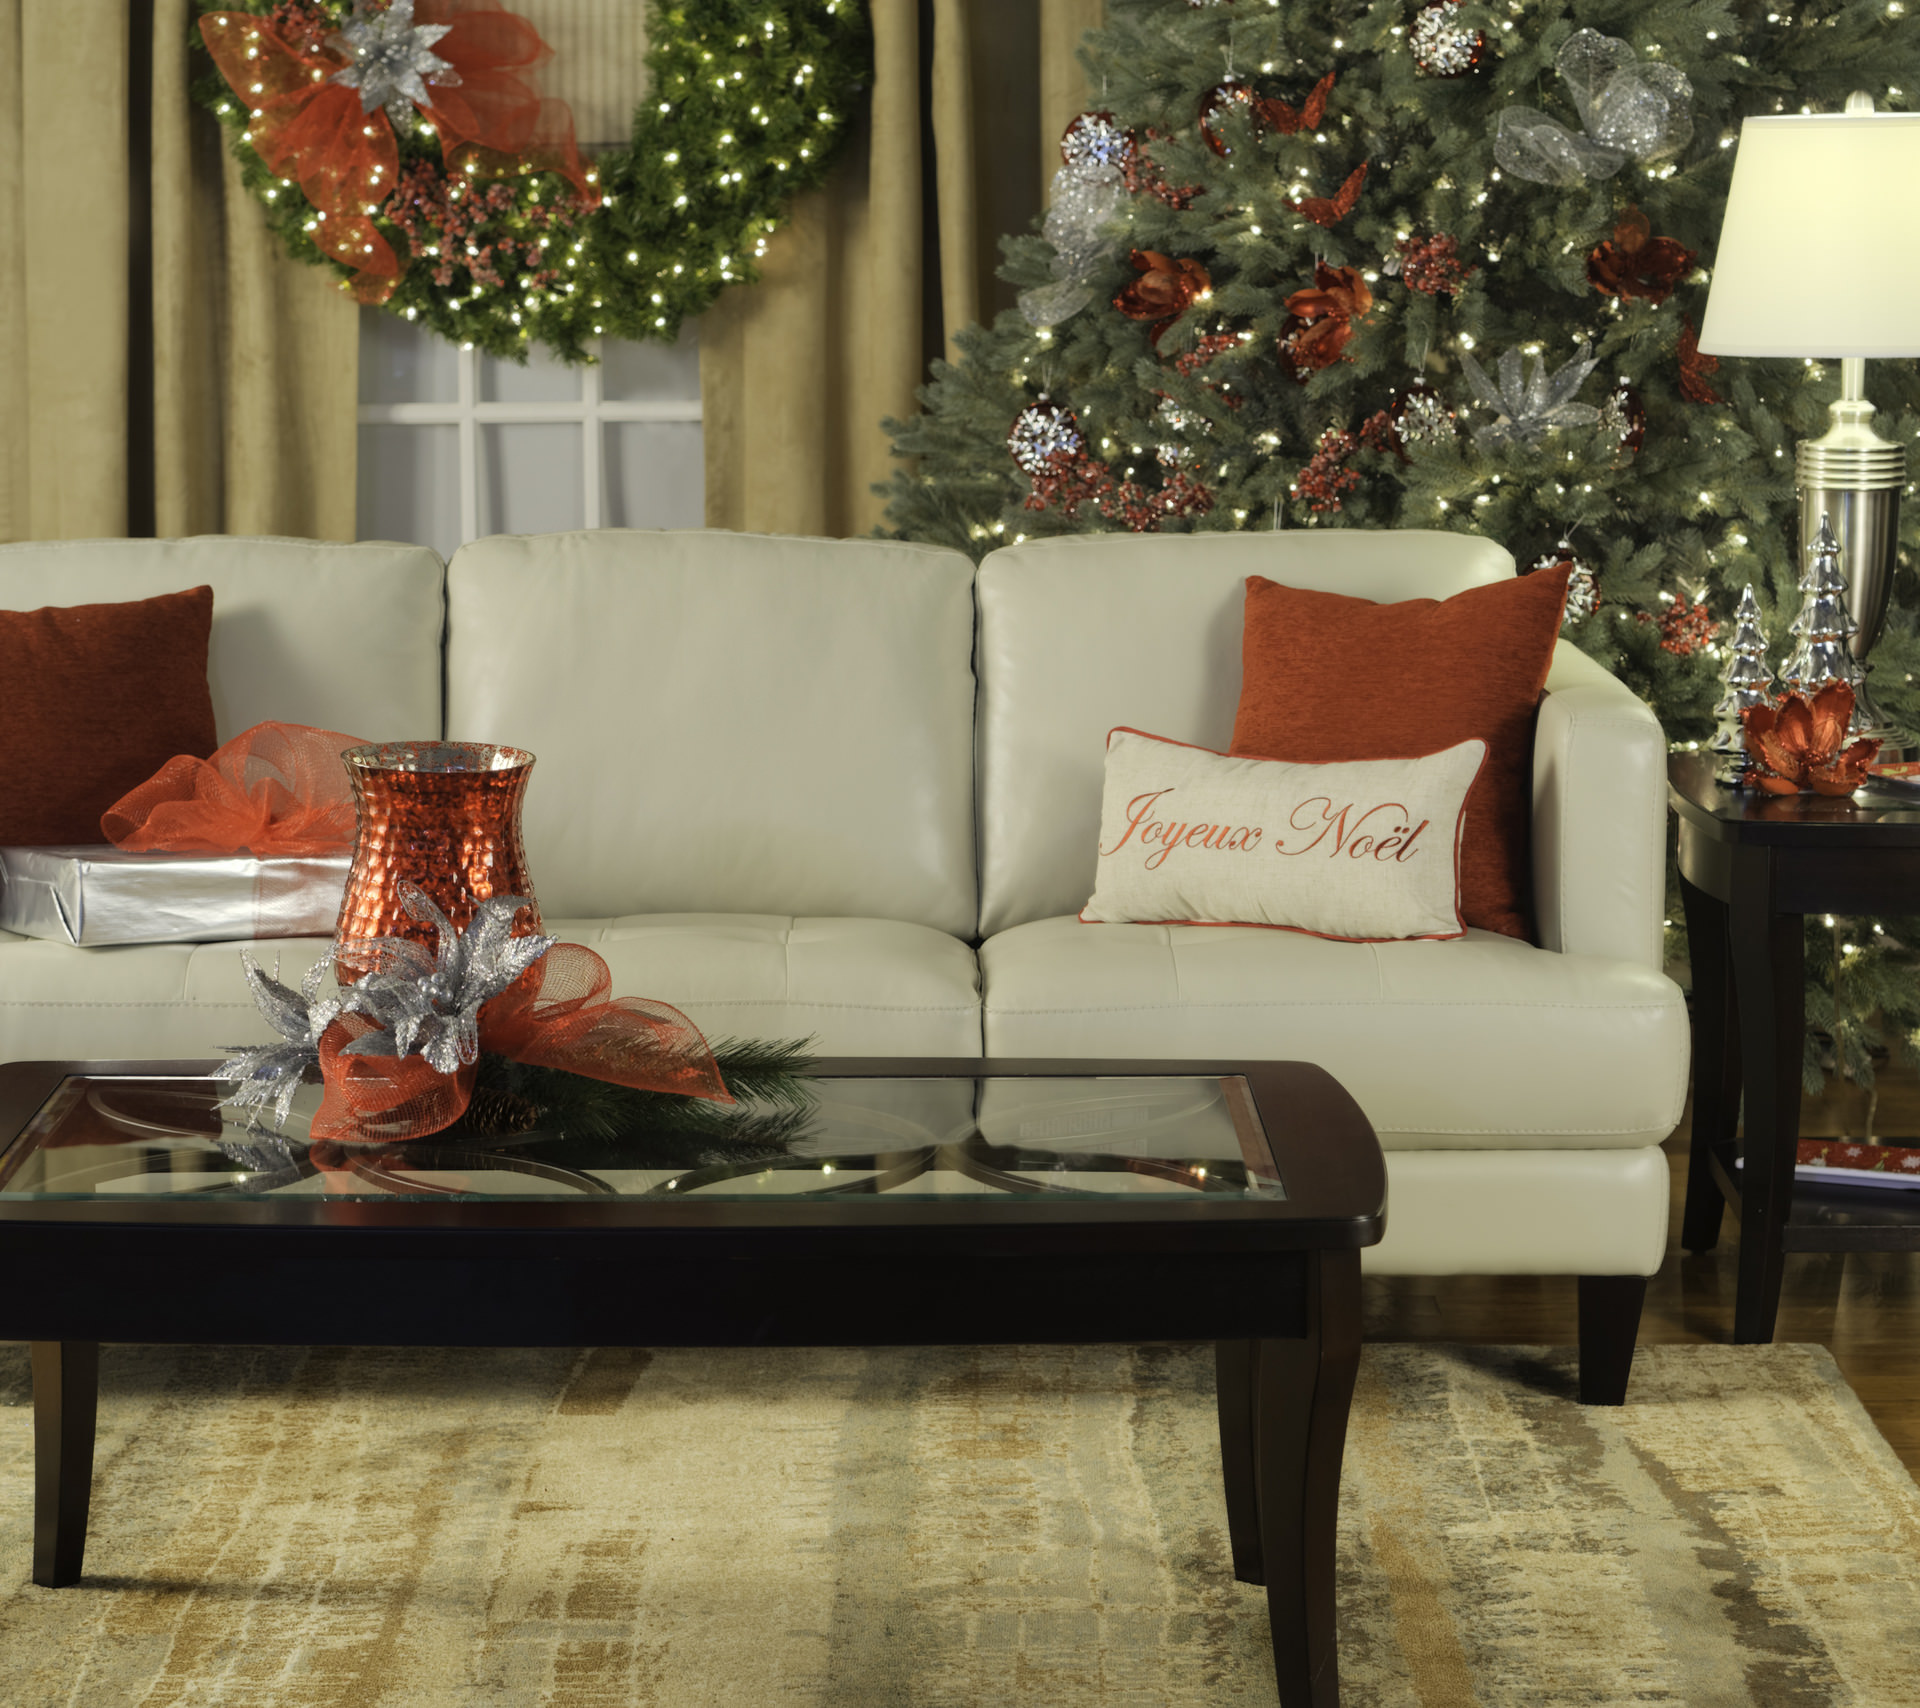
Putting up and decorating a Christmas tree is a family tradition for many, signaling the start of the holiday season and filling your space with cheer. There’s certainly no wrong way to trim a tree—whether you plan to use multi-colored lights and a mix-matched set of handmade ornaments, classic white lights and a carefully curated collection of themed ornaments, or somewhere in between. Whether your style is traditional or modern, you can take your Christmas tree to the next level by following these simple steps!
The overall concept behind our steps for creating a designer approved Christmas tree is to layer your trim, including lighting, ribbons and/or garland, and ornaments. Follow this order and tips to create a professional looking tree.
- Getting in shape: If you have a real tree, you can prune the branches as needed to create a nice shape for hanging ornaments. If you are working with an artificial tree, aim to create a realistic shape. Follow the manufacturer’s instructions included with the tree. Shape tips up and out, away from the branch and towards the sunlight.
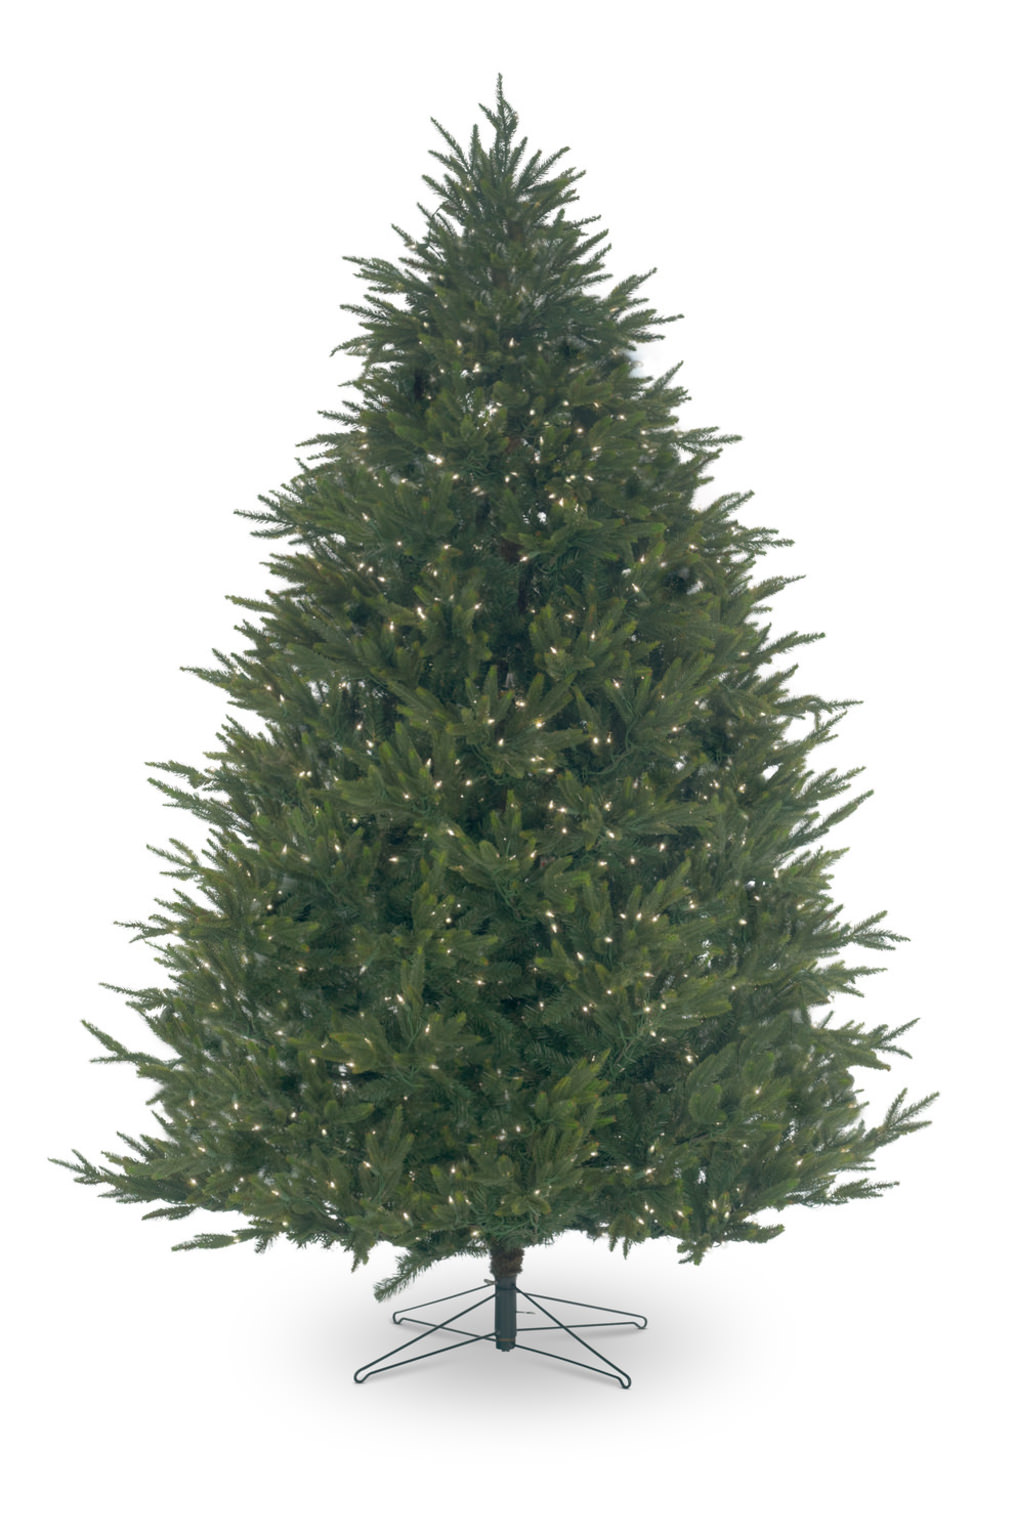
- Light it up: Once the tree is set-up, it’s time for lighting. If you are using a pre-lit tree, you can simply check it once over for burned out bulbs. If you are hand lighting your tree, layer Christmas lights on the branches evenly from the top to the bottom. Include the back of the tree, as the lights can be seen through the tree. By adding lighting to the inside of the branches, you can create depth in the tree and make artificial Christmas trees look more realistic.
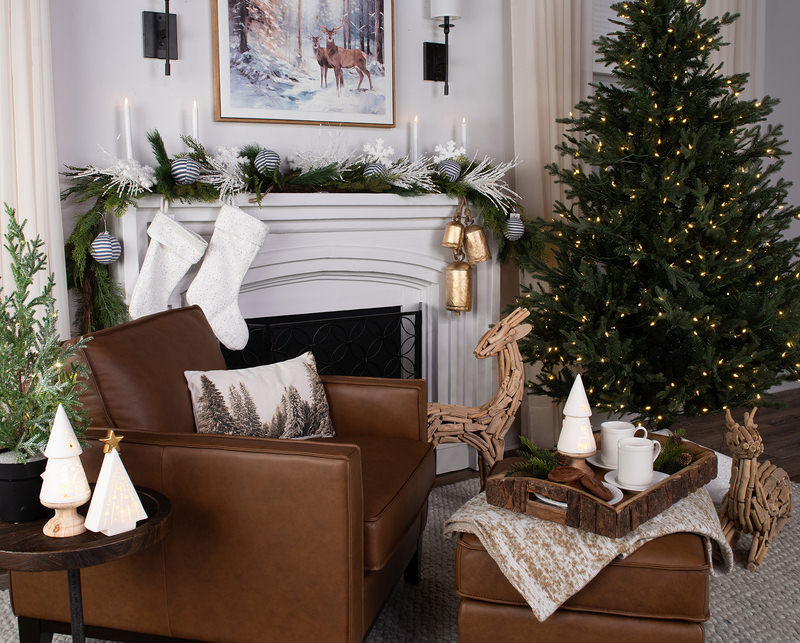
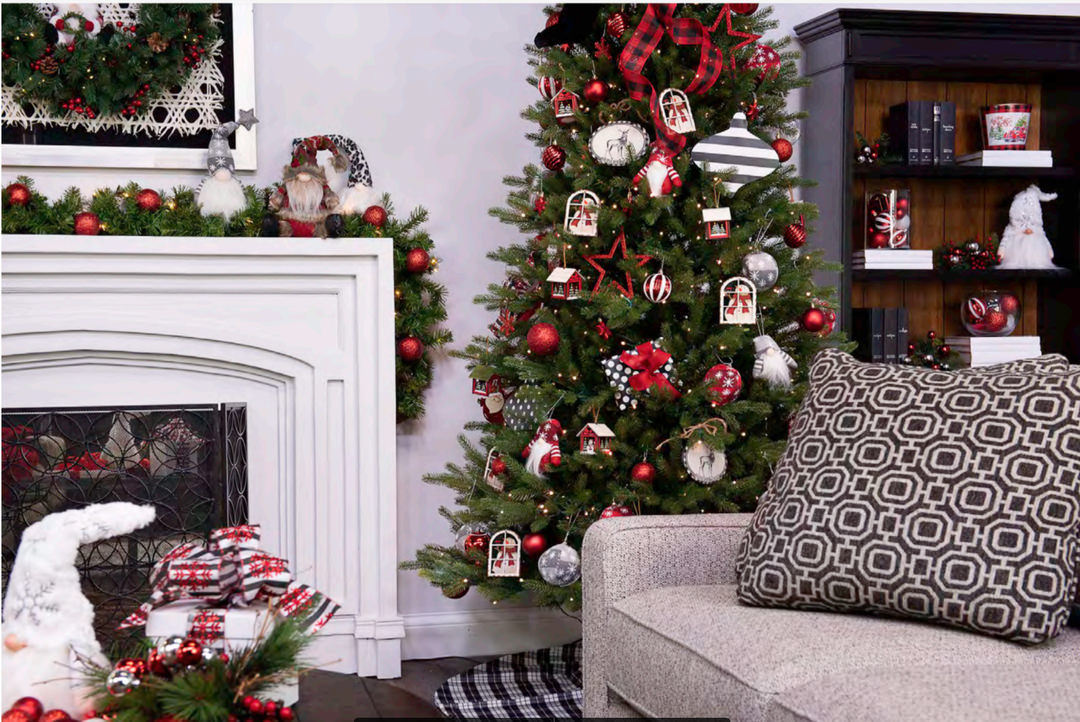
- Color scheme and theme: Now, it’s time to select a color story for your tree. By choosing a single color or a couple of colors, you can create a cohesive looking tree that gives off a designer feel. Ideas include a classic silver and white palette, or a theme—such as Northwoods. Collect décor items that work with your color and/or selected theme.
- Ribbons and garland: If you are using ribbon or garland, it’s time to add these to your tree. Weave ribbon into the tree branches by style, using tree tips, pipe cleaners or twists to hold the ribbon or garland to the branches. Use up to three styles of ribbon, and layer the ribbon into the tree.
- Top of the tree: While many save the tree topper for the end, it’s good to install your focal point characters now to help set the tone for your tree. Add your star, angel or Santa to the top of your tree.
- Focal points: Next in line, place your bigger items to serve as focal points. These may include focal glitter picks, floral stems or holiday sprays. Add these to the points where the ribbon attaches to the tree. Work in odd numbers of focal points, and use an odd number of stem styles on a tree. If you’d like, you can layer in pine cones for a realistic looking Christmas tree.
- Ornament time: Once you have the lights, ribbon and focal points, it’s time to layer in the ornaments. Hang ornaments inside the tree branches and on the outer tips, distributing them evenly around your tree. Work inside of the branch diameter to the outsides when layering to create depth. Of course, you can place favorite ornaments towards the front and center of the tree, where they’ll be most visible.
- Complete it with a skirt: Install your tree skirt around a base.
