DIY Gallery Wall
Create a personalized gallery wall that fits your style and space
Gallery walls have many advantages. They allow you to display a variety of artwork and, since they are made up of artwork you select, provide a personalized touch to home décor. There are many variations of gallery walls, which make them a perfect fit for any space, big or small. However, starting a gallery wall from scratch can also seem like a daunting task—with seemingly endless possibilities. Here’s a basic guide to creating your own gallery wall, from selecting artwork to hanging your pieces.
Select Your Artwork
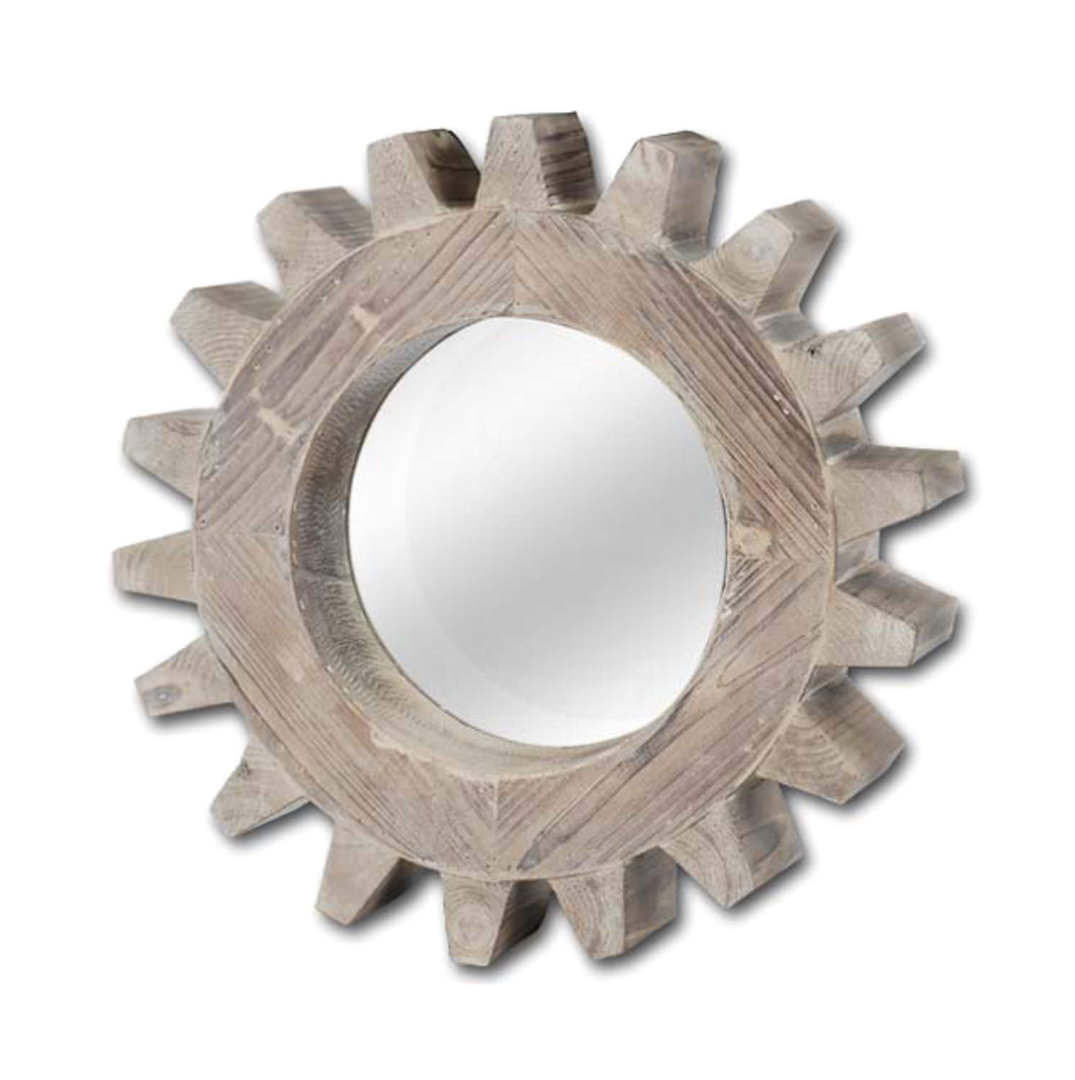
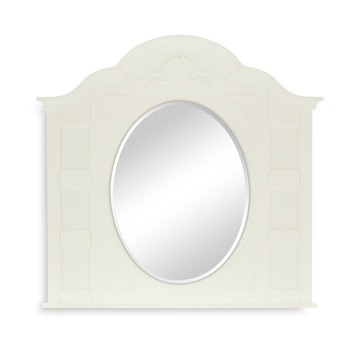
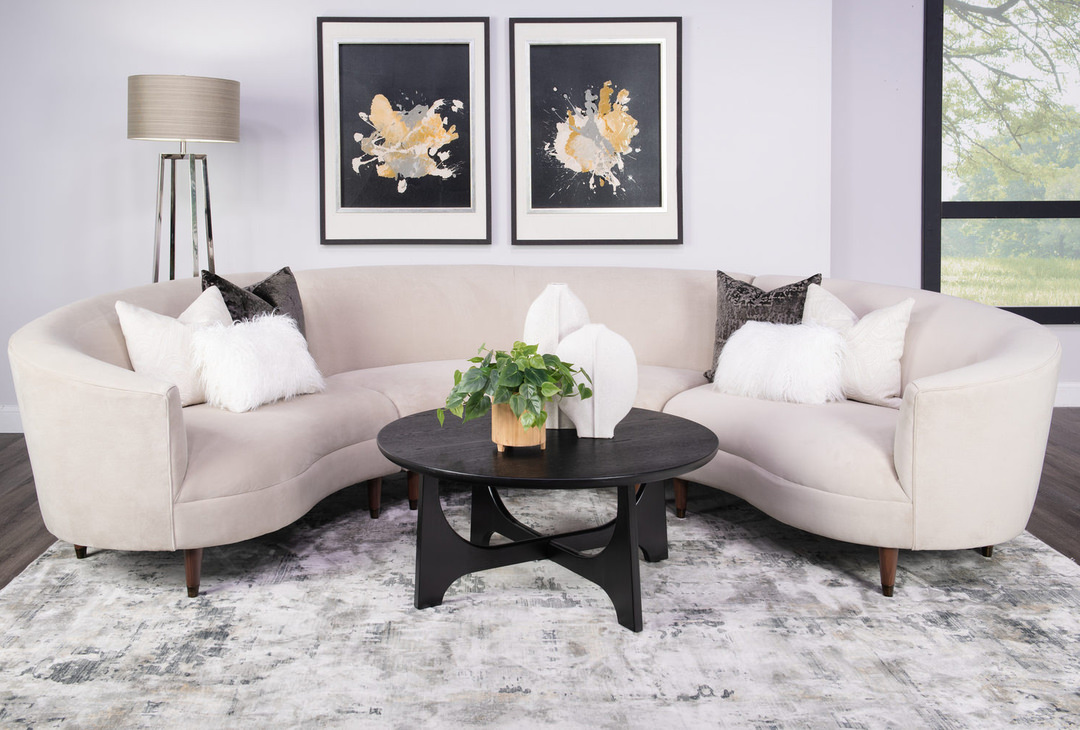
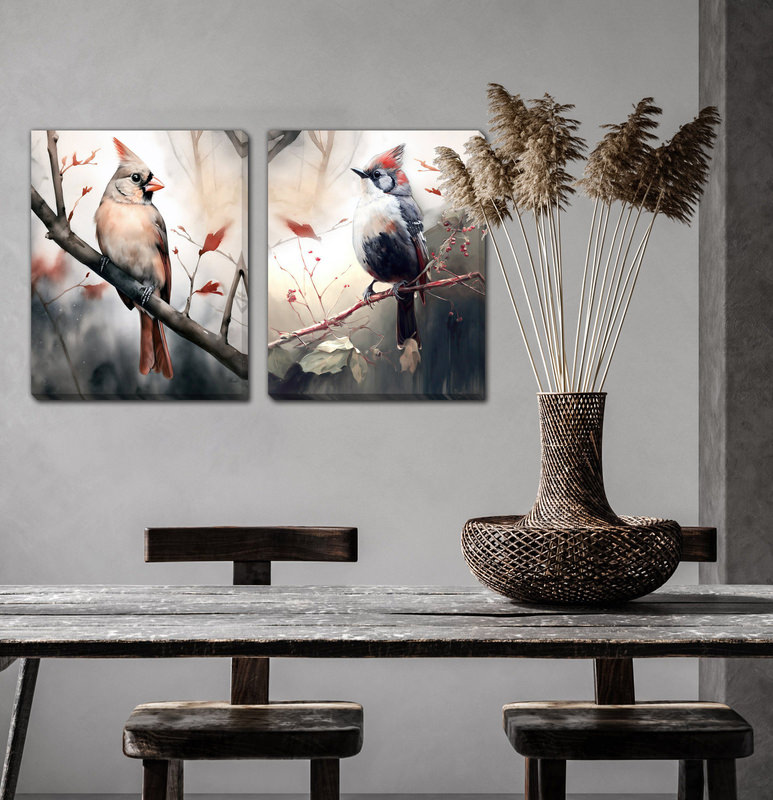
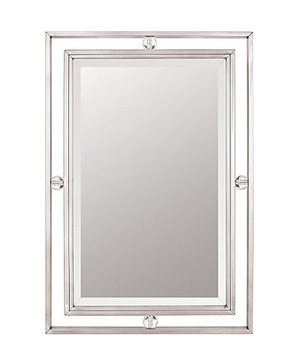
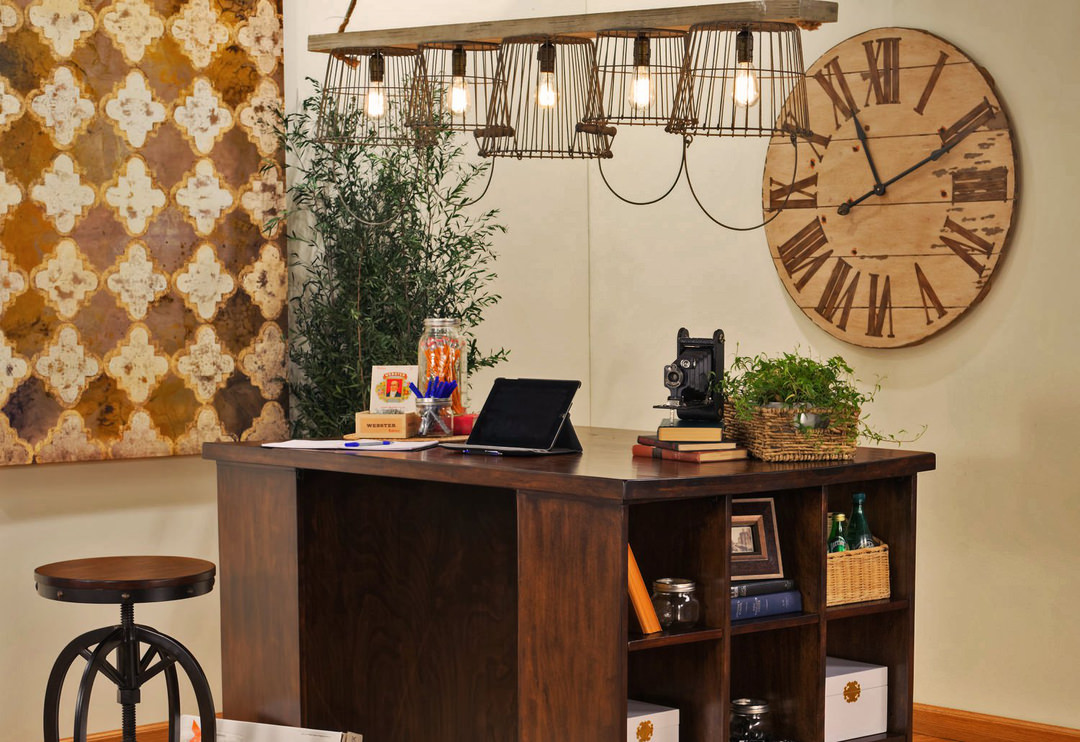
The first, and most crucial, step to a DIY gallery wall is selecting the artwork you wish to display. While you can (and should!) mix a number of different mediums, stick with a particular style and theme. For instance, choose a mix of modern paintings and prints for a bold and trendy look. If you want to display photographs, such as family portraits, choose a variety of different shots and consider adding other personalized touches, such as kids’ artwork, or a wood or metal letter representing your family name. Don’t be afraid to add other pieces to your selection to add visual interest, such as mirrors or a clock.
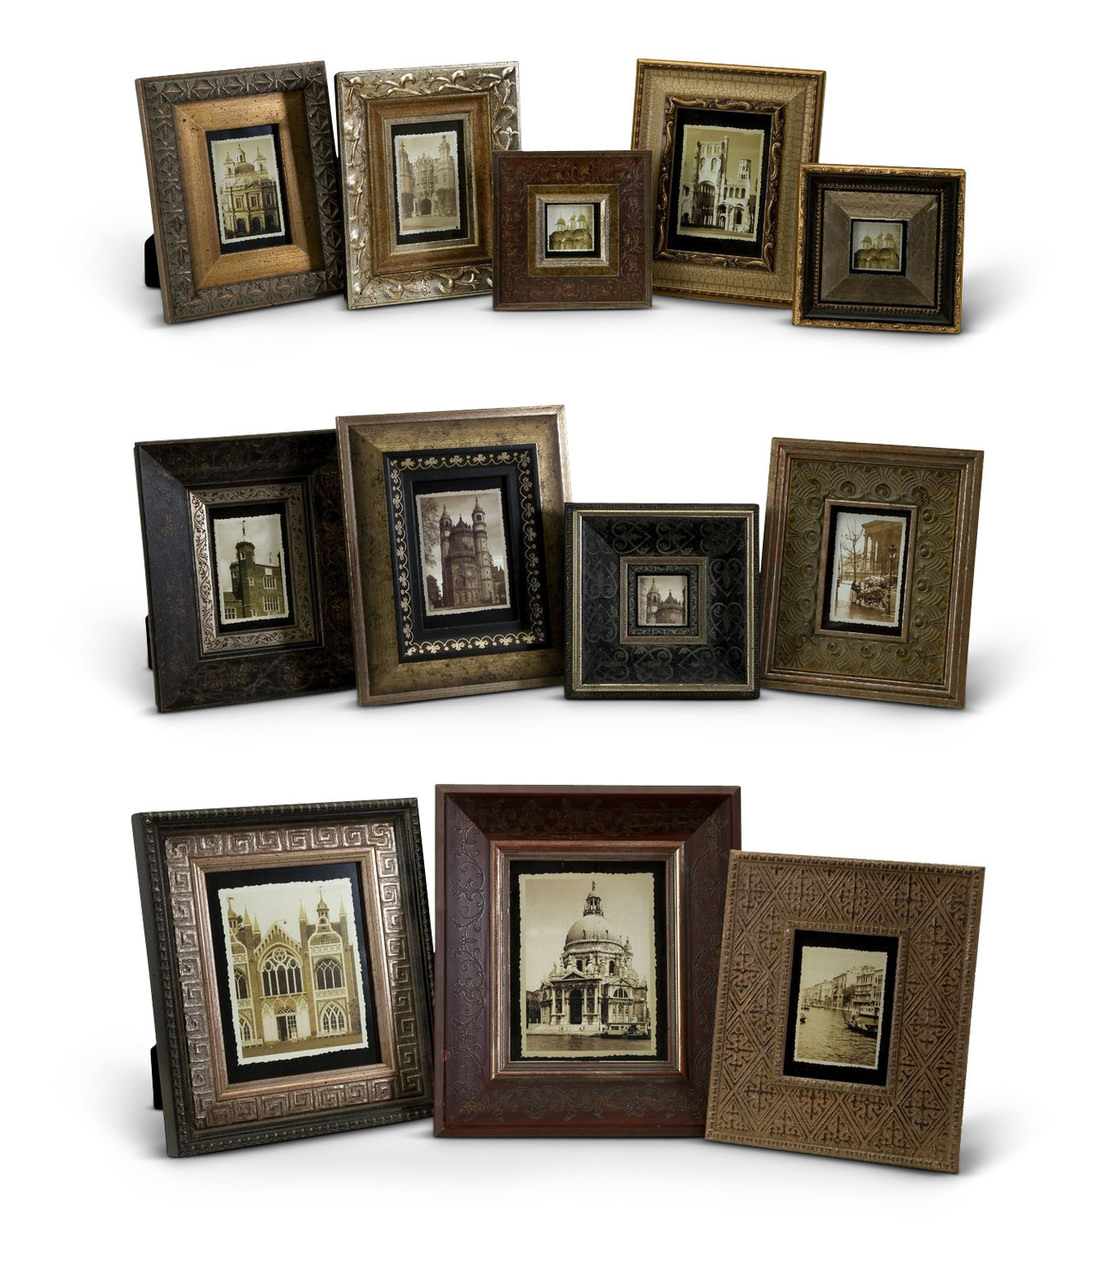
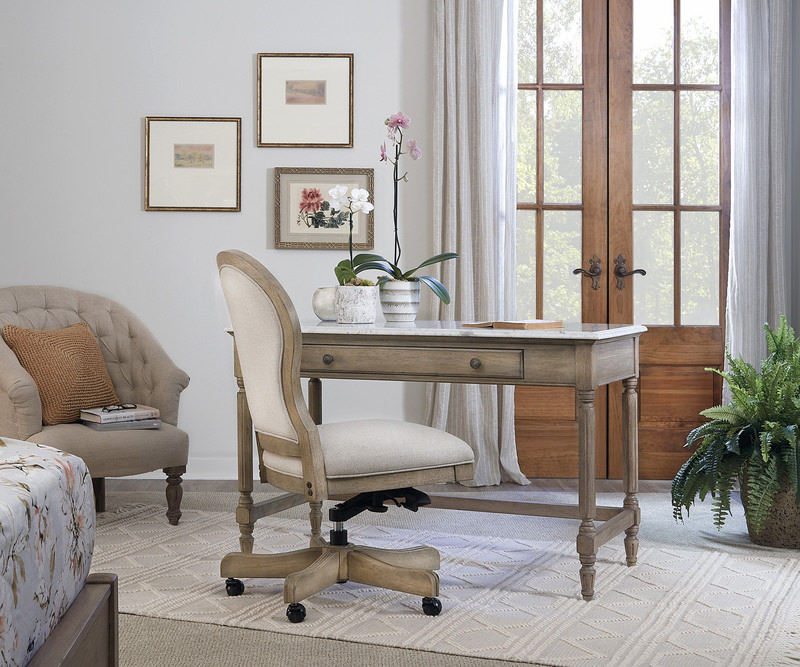
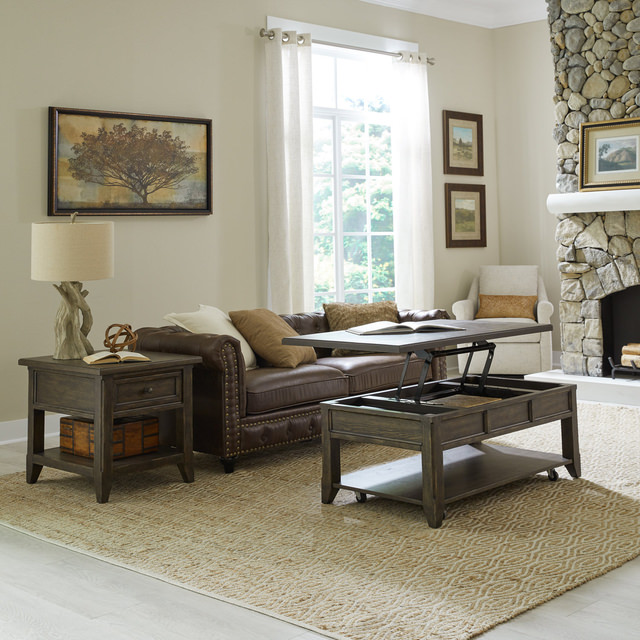
Frames not only complement your artwork, but also lend style to your gallery wall. Choosing matching frames offers a classic look, while mixing your frames can lead to a trendy feel. When mixing frames, we suggest selecting a similar colors and styles. For example, vintage artwork can be complemented through a selection of simple white frames, a couple of light colored frames that match your featured artwork, and a couple of vintage wood, silver or gold frames to complete the collection.
Consider Your Space
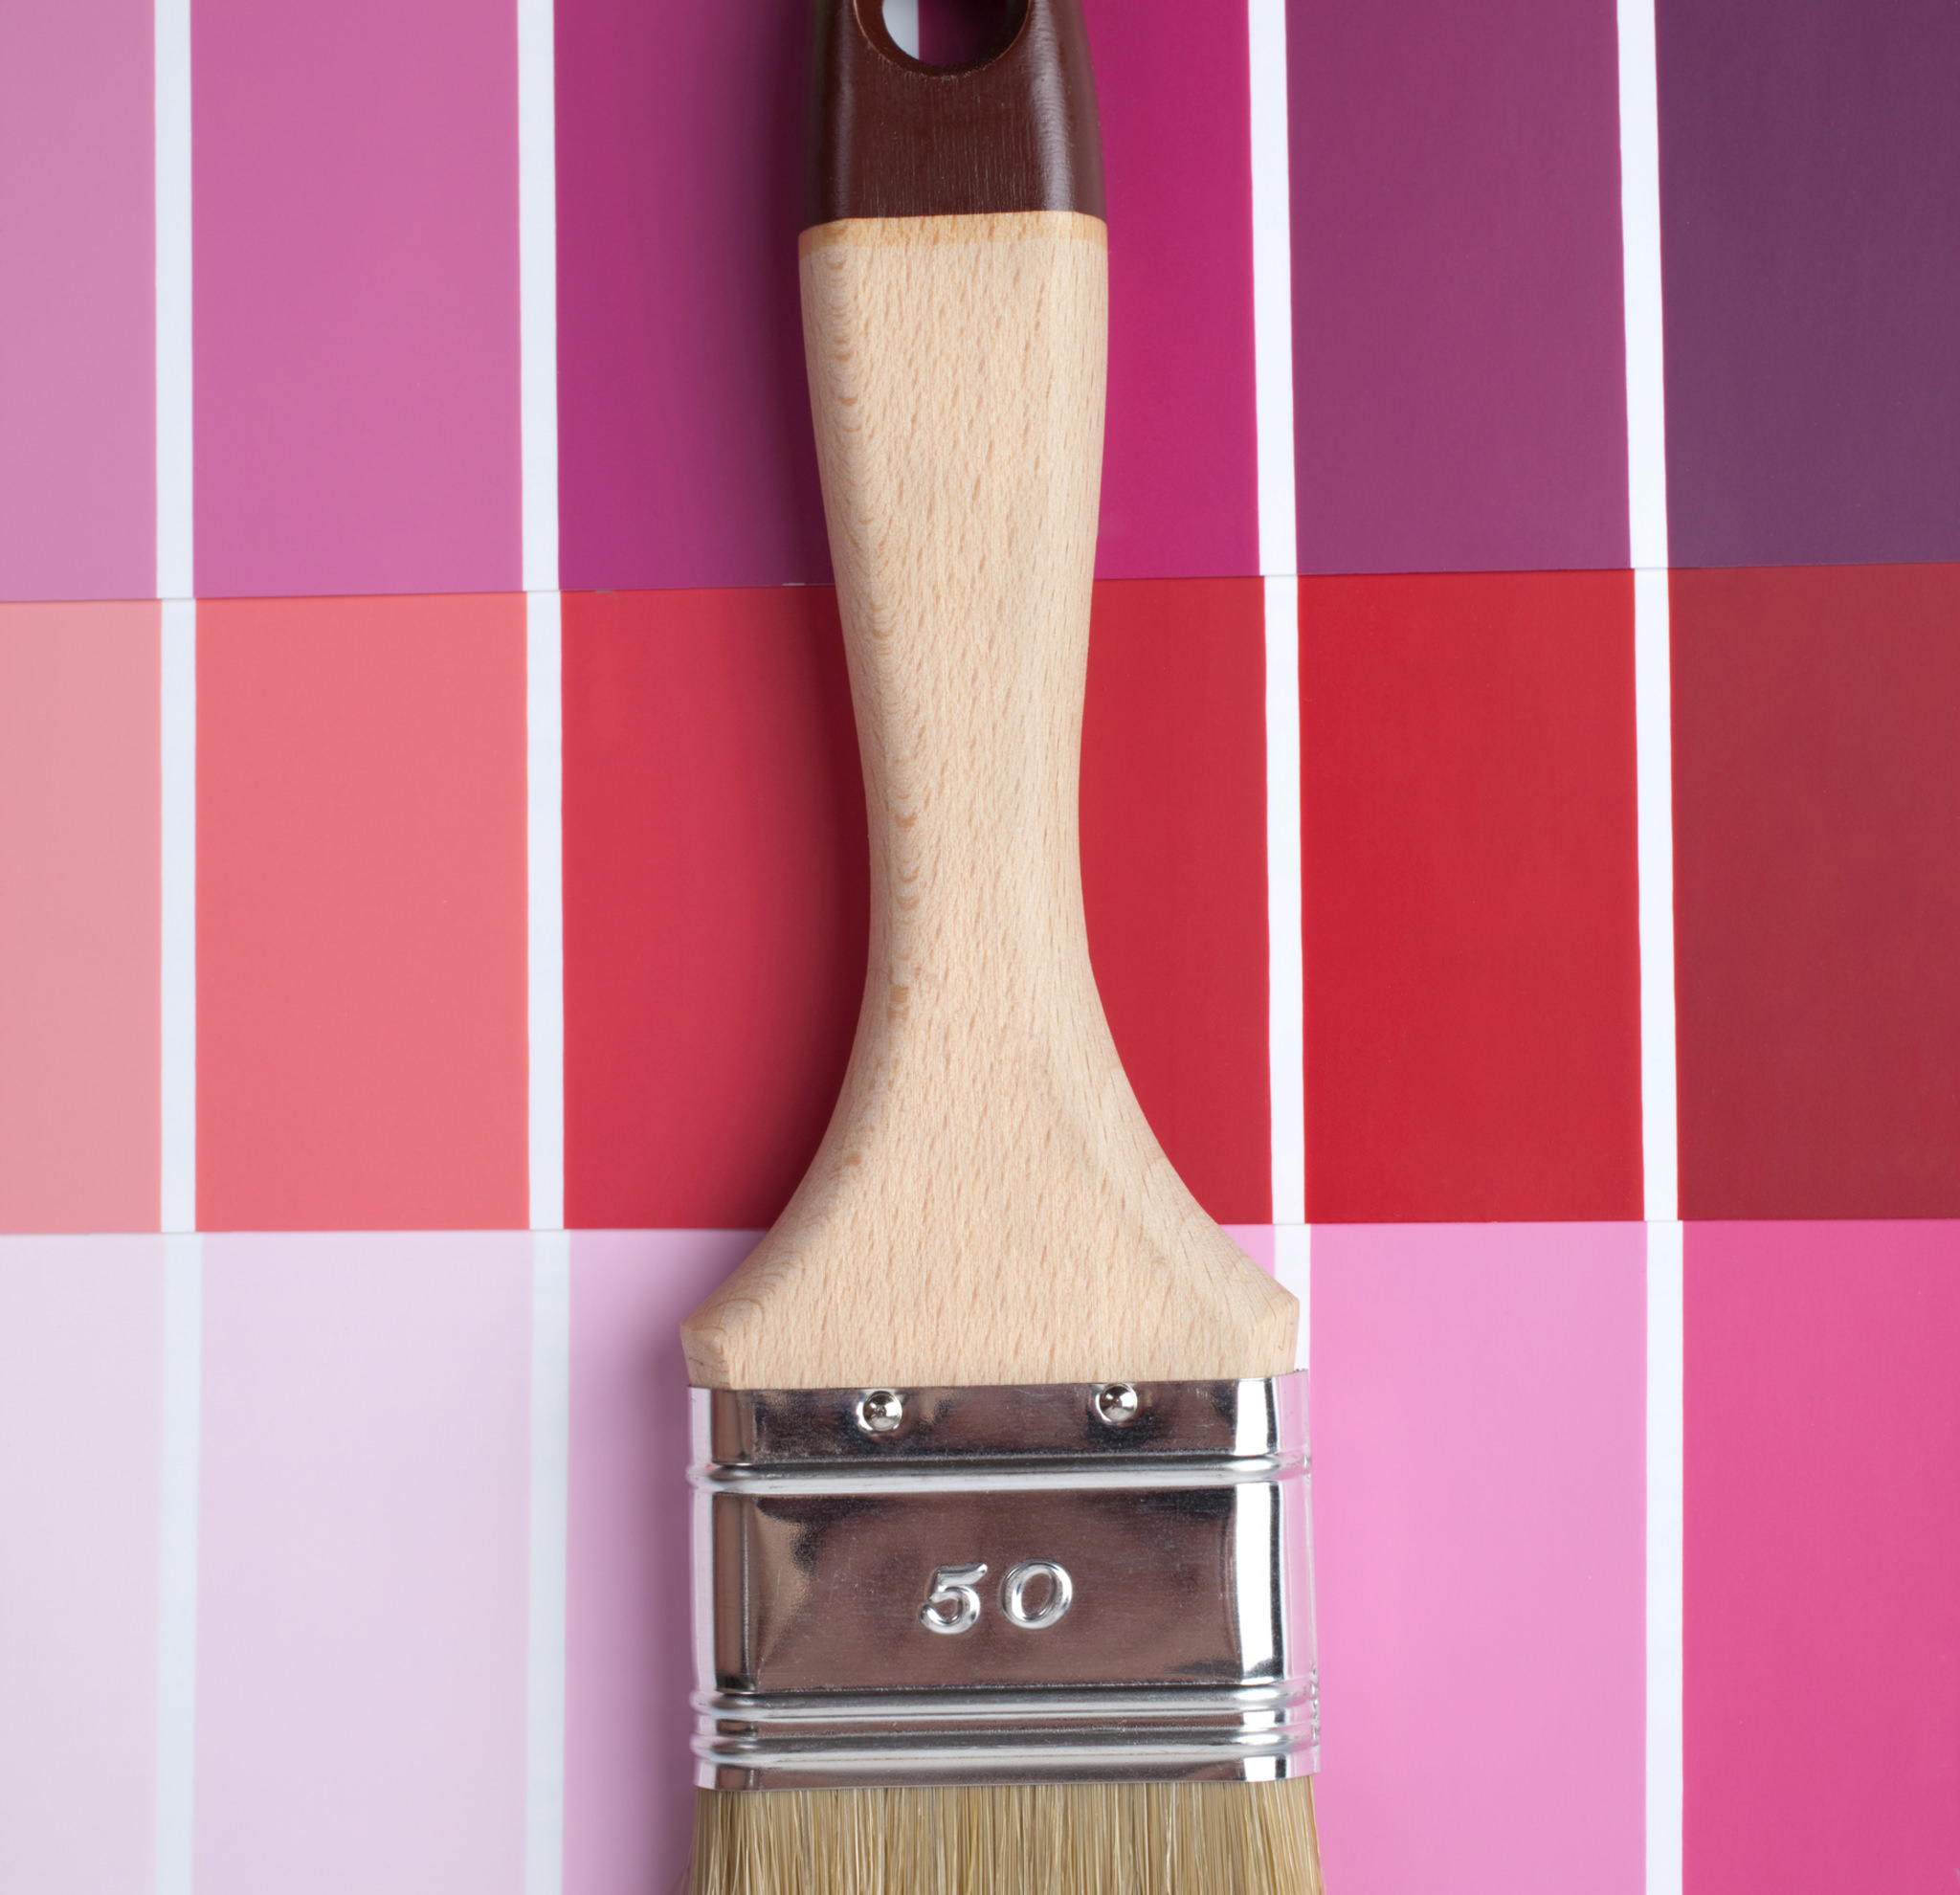
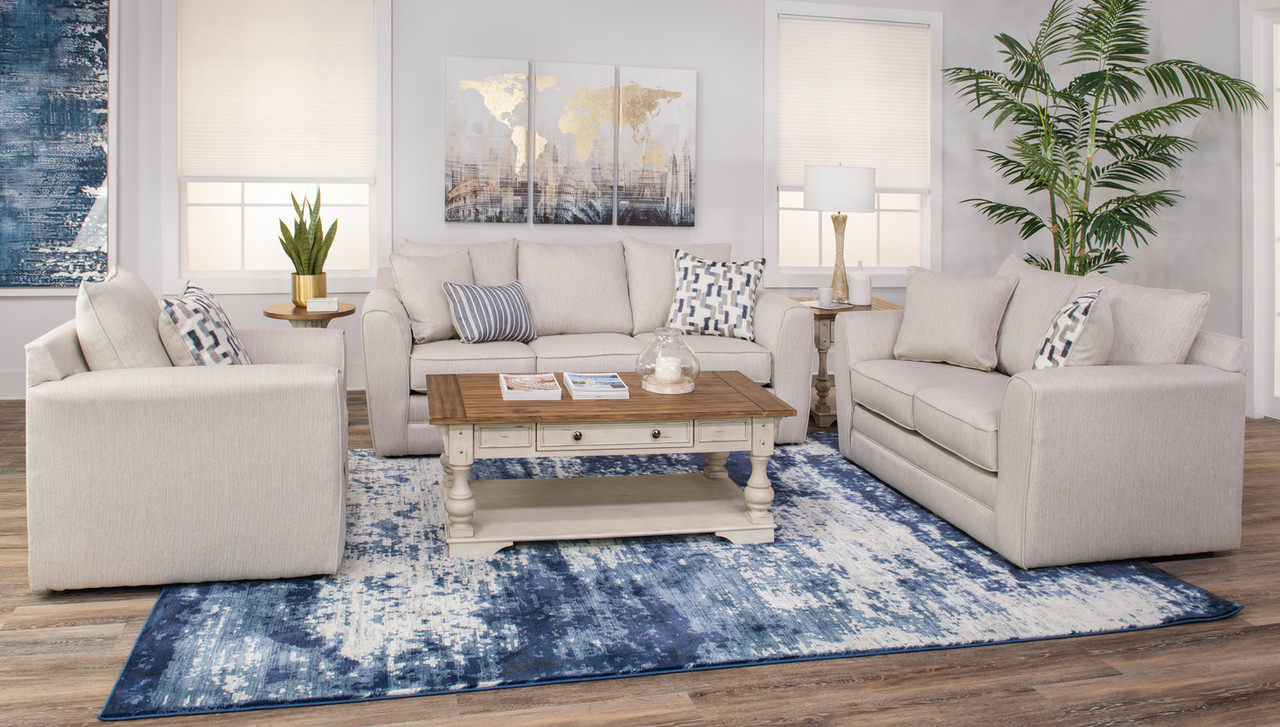
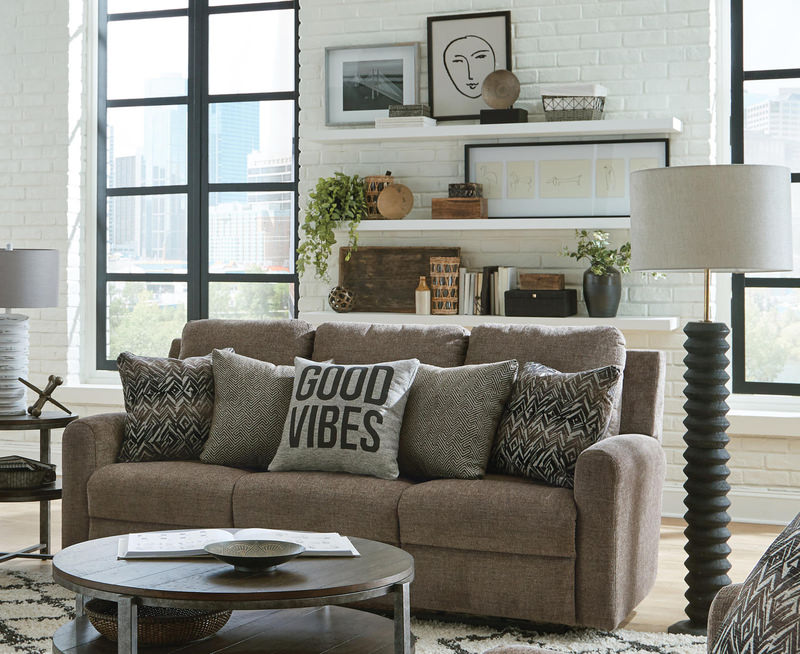
Gallery walls can be bold or understated, big or small. When planning for a gallery wall, consider not only the amount of space you want to take up on the wall but also any architectural elements or furnishings you need to plan around. The gallery wall should fit the style of the room itself, with a wall color to serve as a plain background or complement tones from your artwork.
Plan a Layout
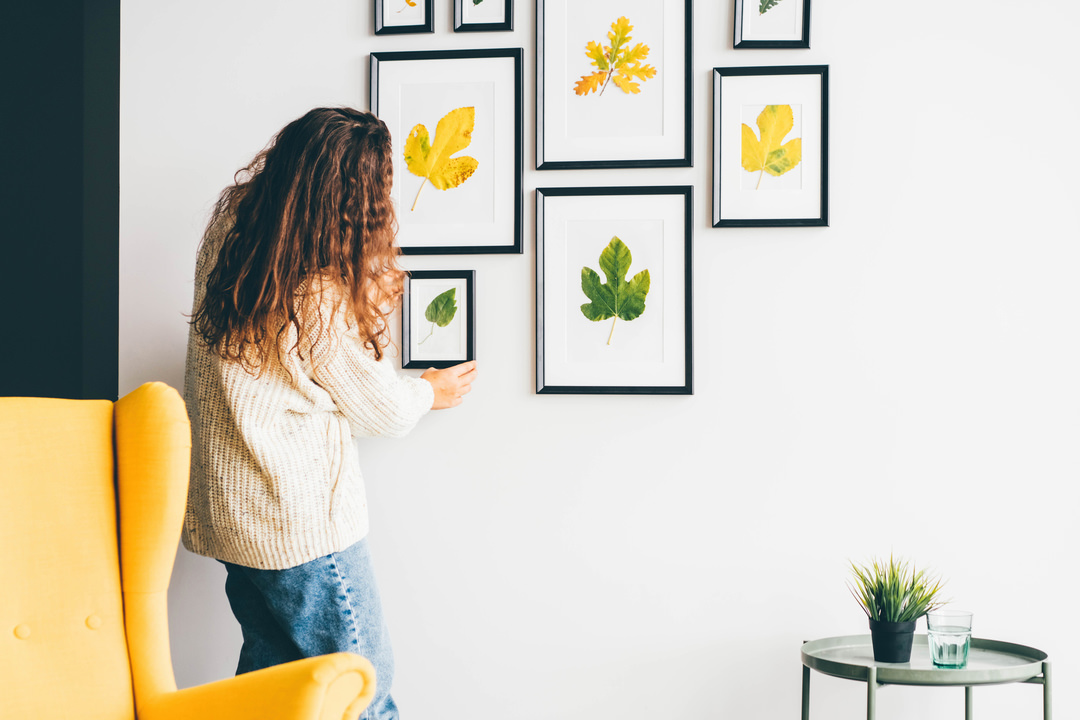
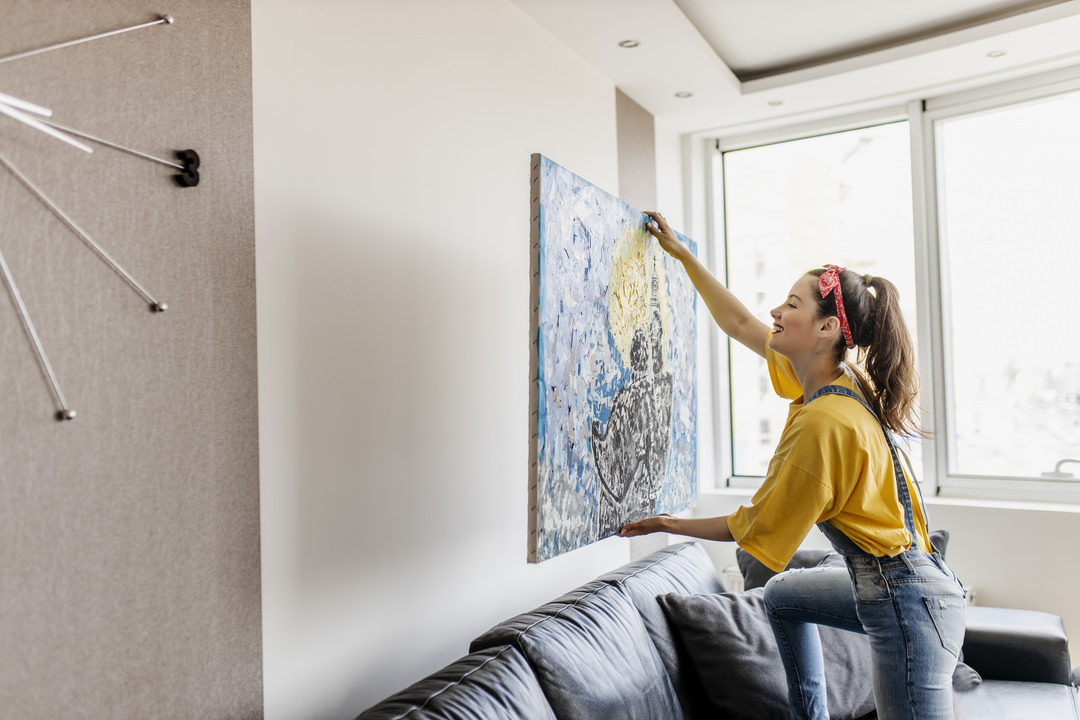
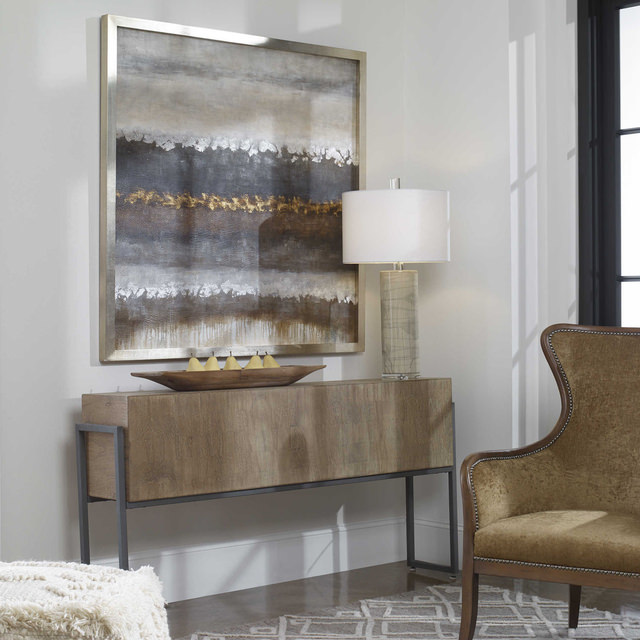
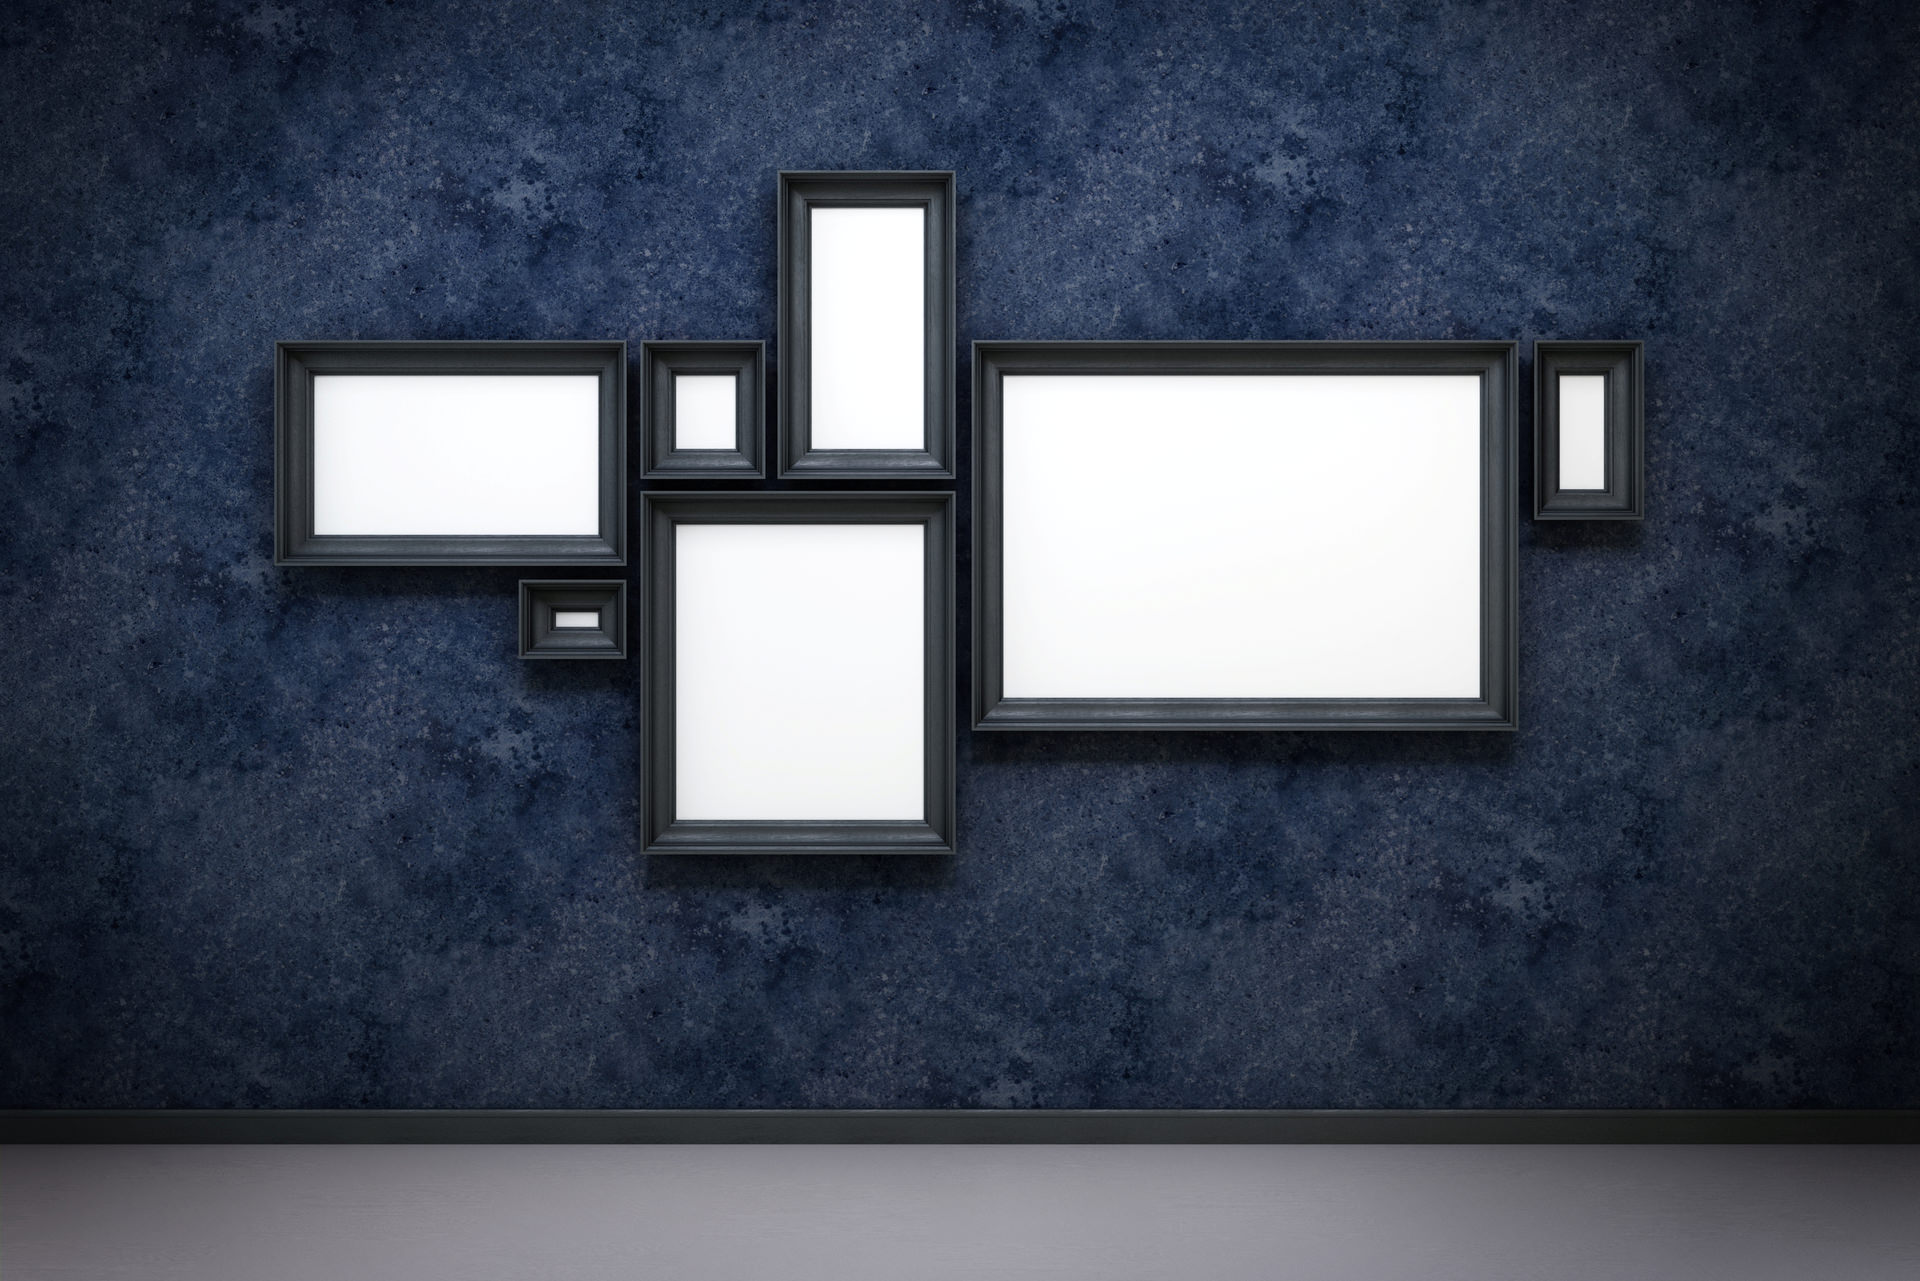
First step: choose a single large piece or a couple of key pieces that will serve as a focal point, anchoring your artwork into a cohesive grouping. While the focal piece/s don’t need to be precisely centered, they should be close to the middle and positioned at eye level. Once you’ve selected the focal point, you should work your way out. Place your artwork around the anchor piece, mixing different sized pieces as well as the orientation, until you’ve achieved the desired balance.
Test Run
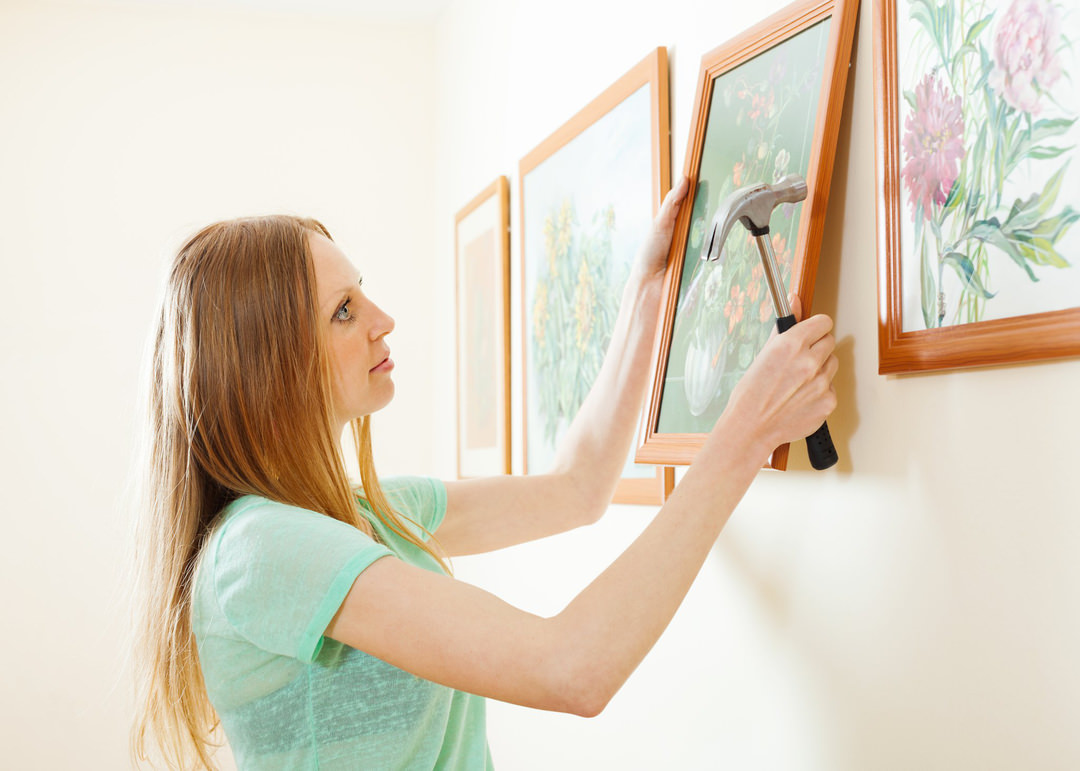
To avoid the need for putty and paint, test your layout out on the floor before reaching for your hammer and nails. Start by measuring the amount of space you want to cover on the wall and using tape to mark the same space on the floor. You can try several layout options and take photos of each one for comparison. Once you’ve selected the design, you can cut newspaper in the size of each art piece and tape it on the wall to determine the nail positions. Final steps: hang, step back and enjoy!
Need general tips on how to hang artwork? Read our guide on Easy Picture Hanging Design Tips.
