How to Tame the Frame
General rules/tips for arranging/hanging your photos and other artwork.
Nothing causes panic quite like over thinking (or under-thinking) how to hang your artwork, décor and family photos. Nothing too big, nothing too small, everything on different levels, remember negative space, don’t hang it too high, the list of rules feels like it goes on and on. Here at HOM Furniture, we have a couple of ideas to get you started on your walls.
Tools of the Trade
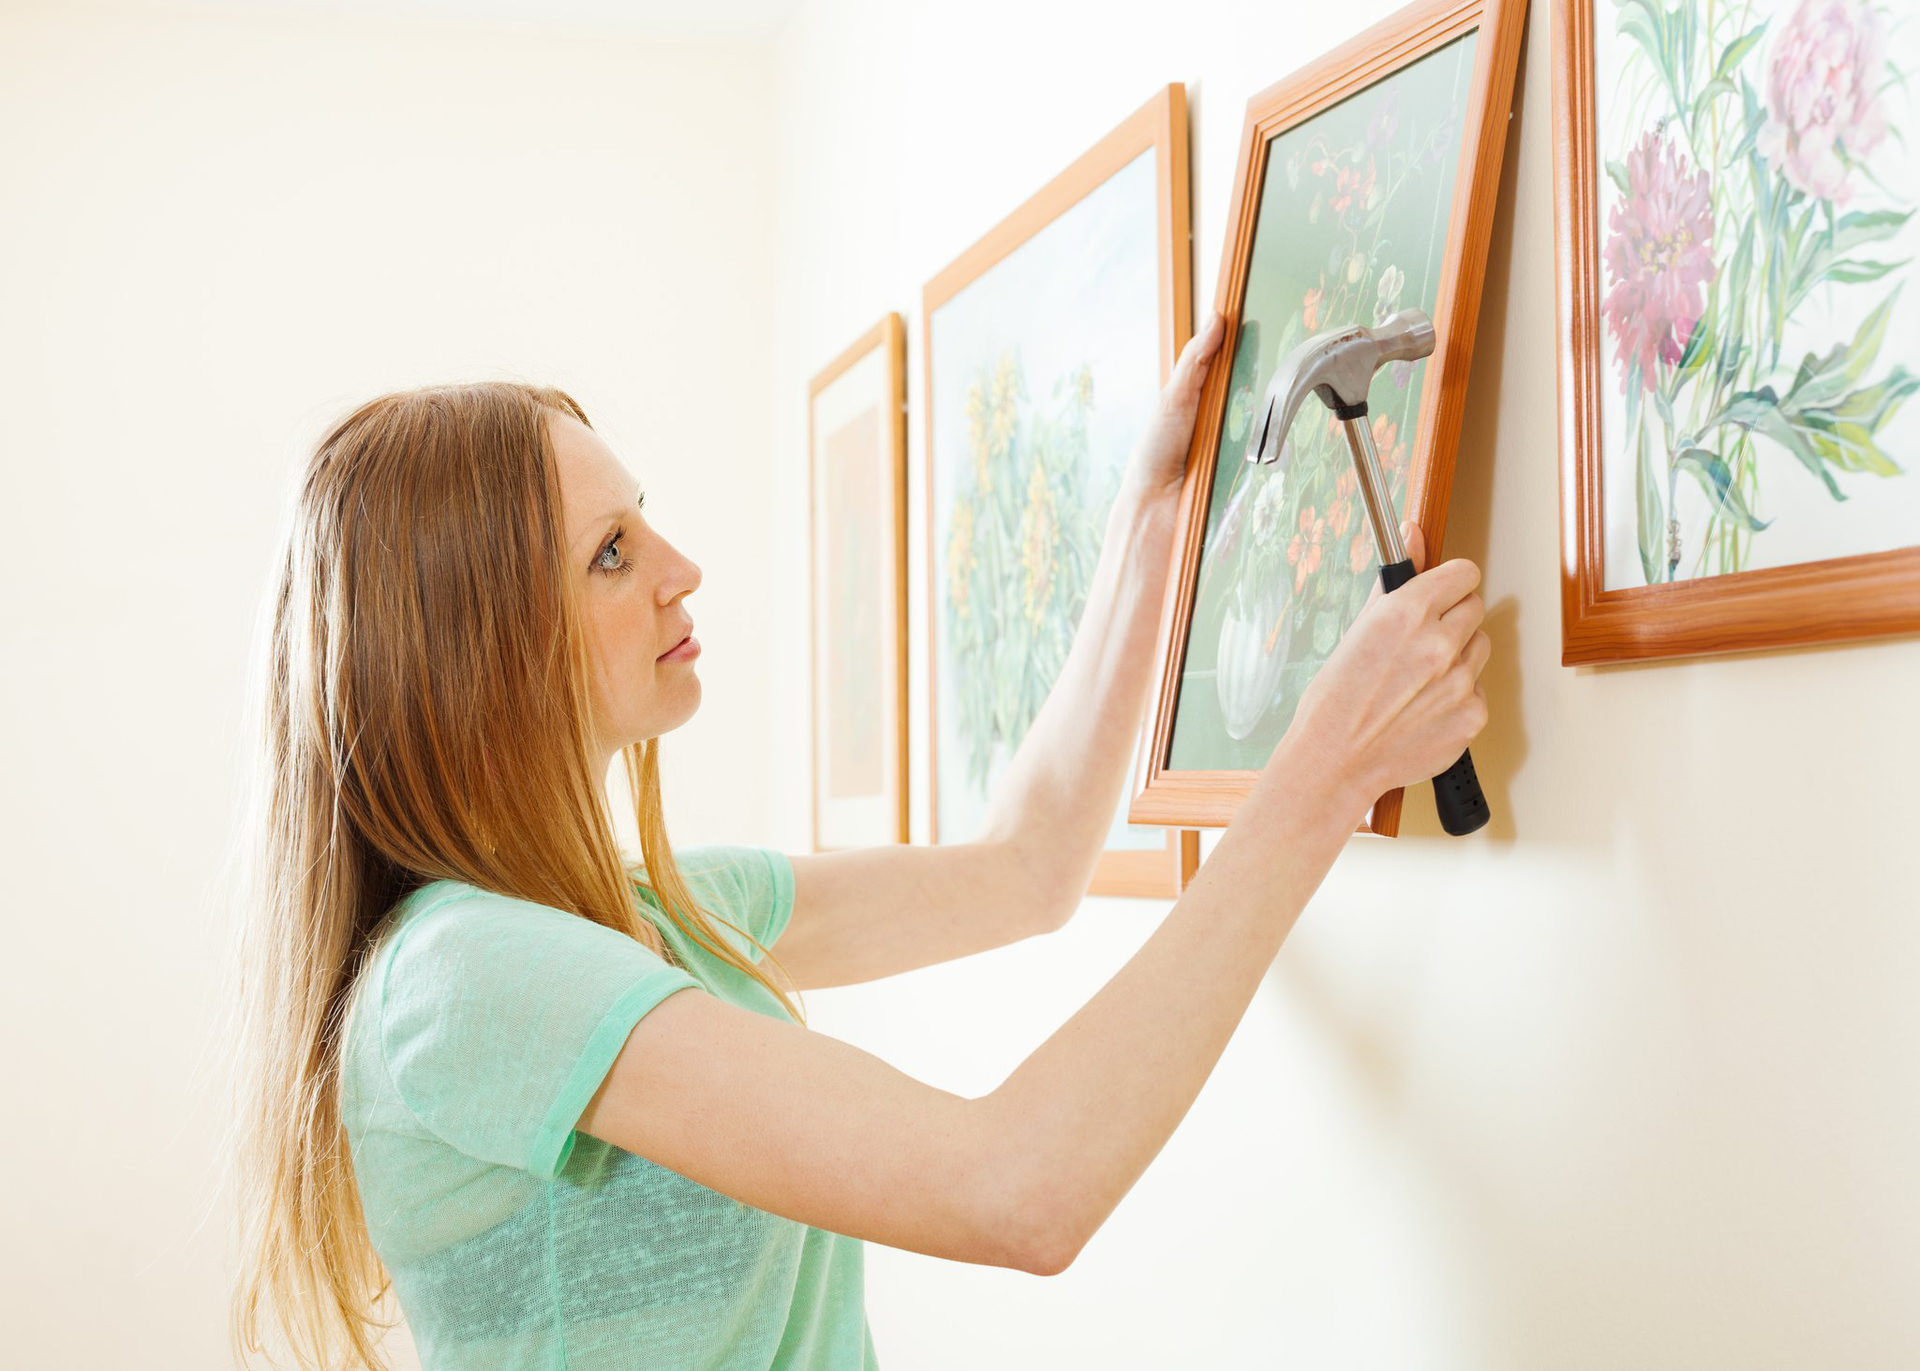
Just like a chef does his or her “mis en place” and gets all the ingredients measured out, the very first thing you must do before you hang art is get your tools together. Feeling like you’re prepared for the challenge will give you an extra boost of confidence. First, you’ll need a tape measure and a pencil for marking. Just “eyeballing” it doesn’t guarantee accuracy. (Remember, the anchor point of your frame is going to be lower than the top edge.) You’ll also need anchors like picture hanging hooks, appropriately weighted adhesive strips/hooks or nails, or screws for heavy frames and the tools to deploy them, like a hammer, screwdriver and drill. Hanging a group of pictures? Grab some painter’s tape to mock up frames.
Spatial Awareness
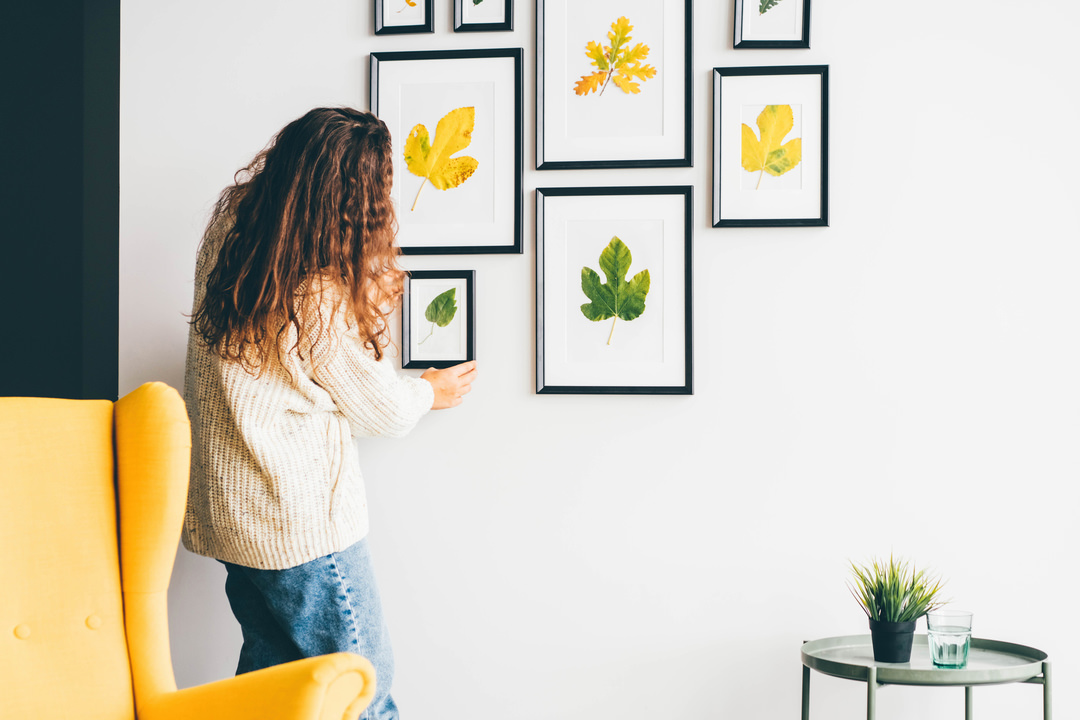
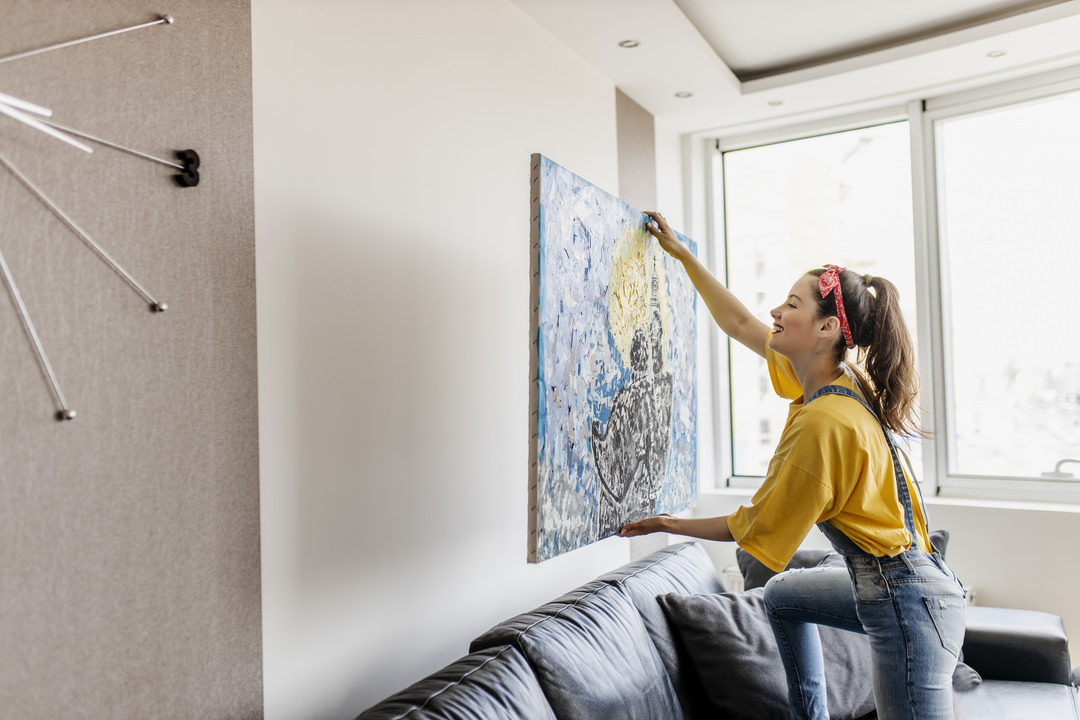
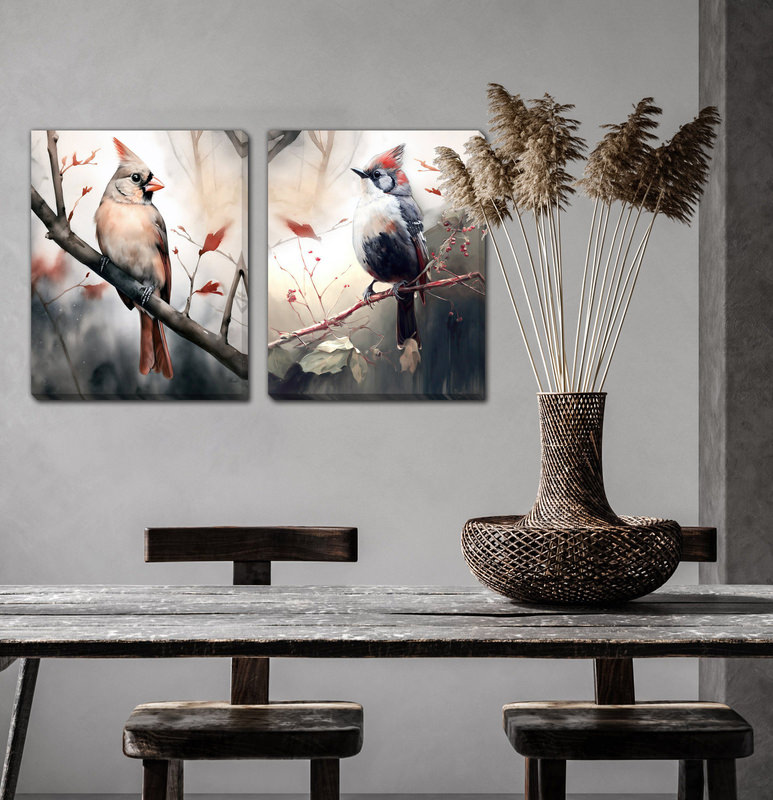
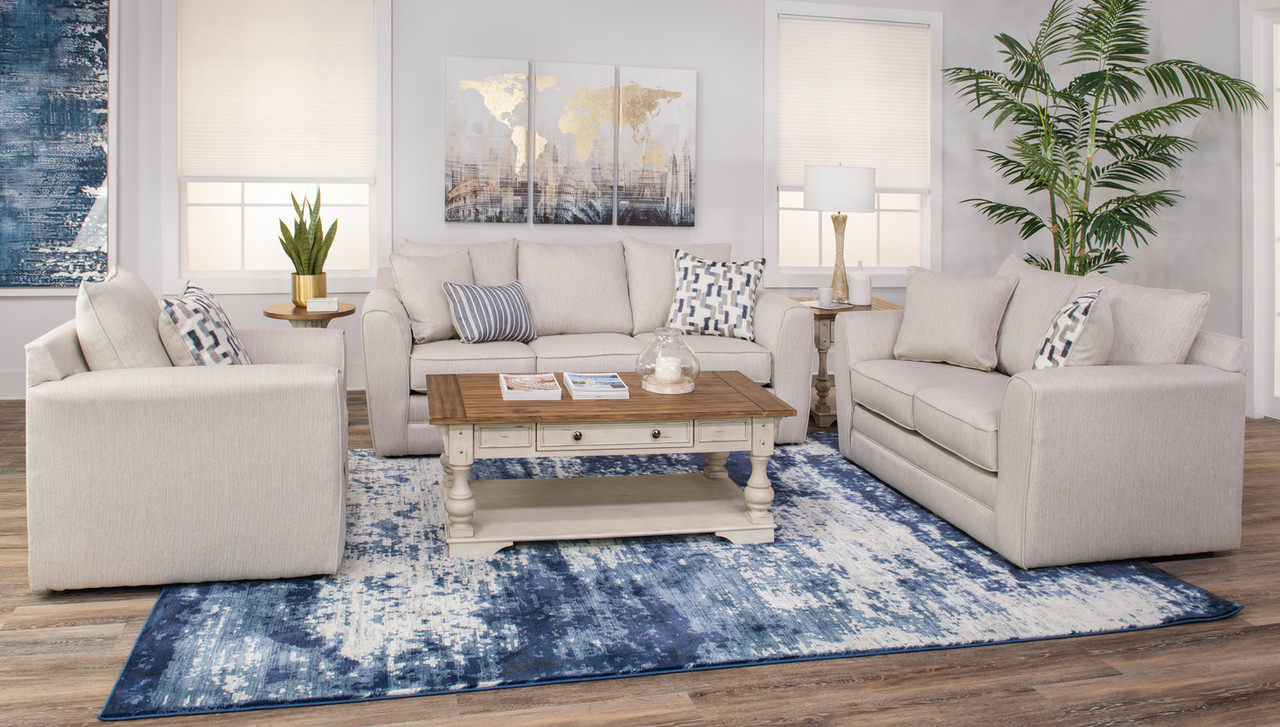
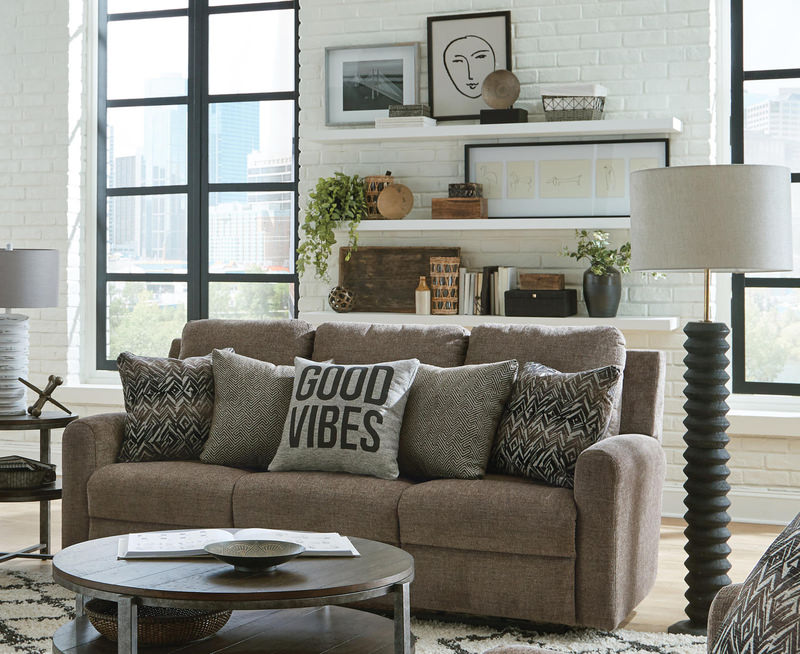
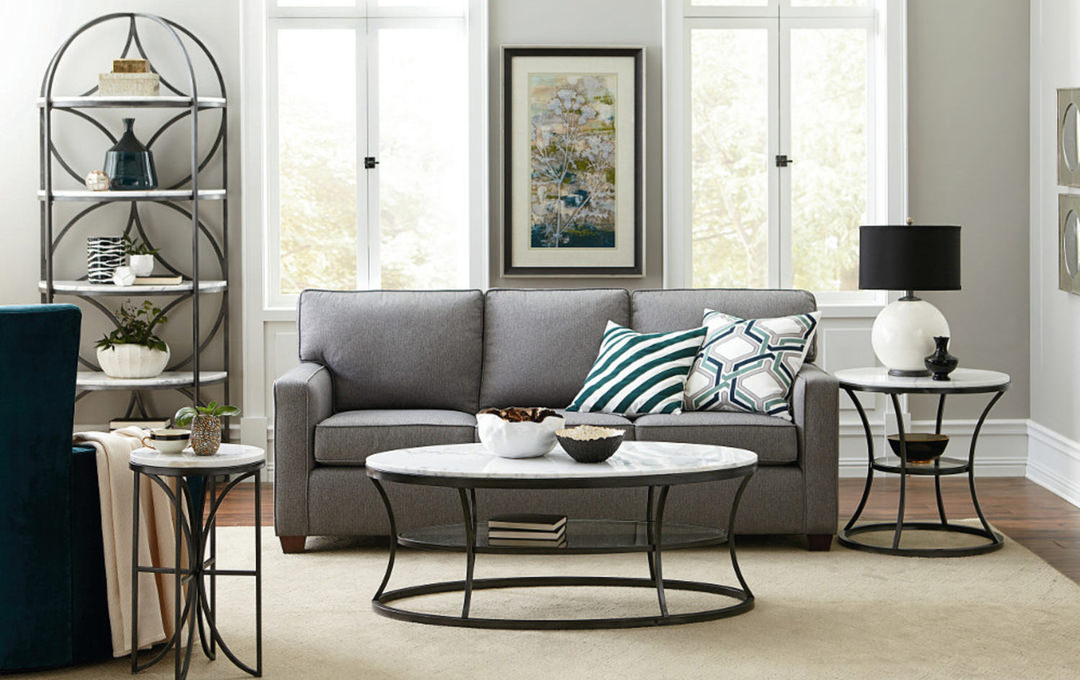
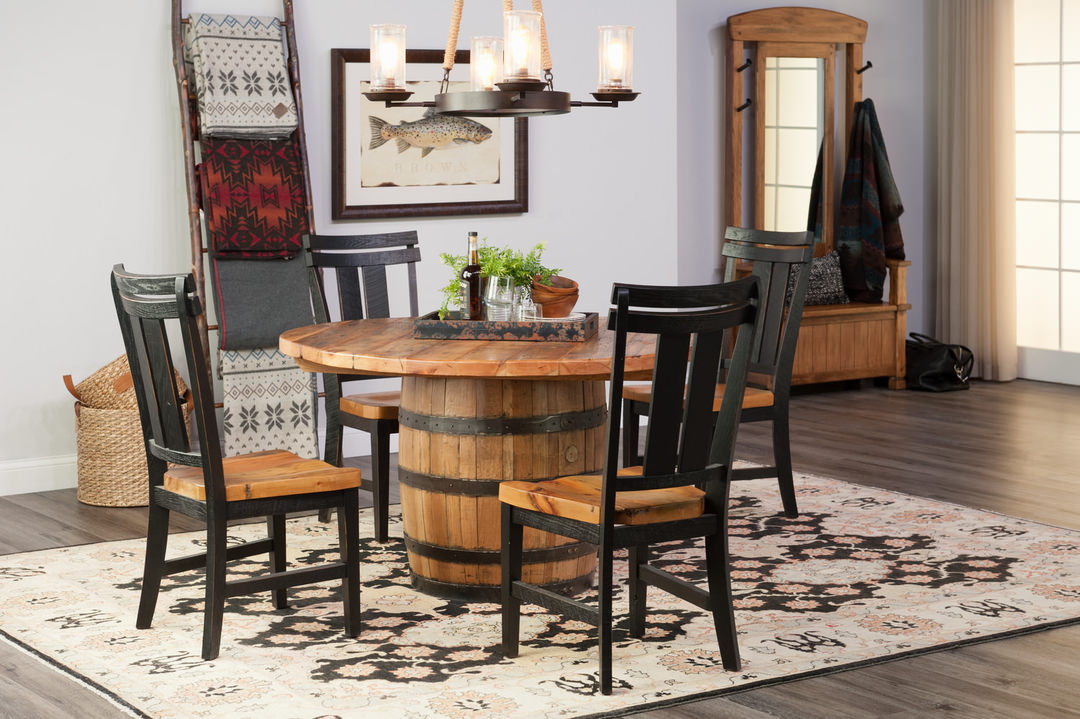
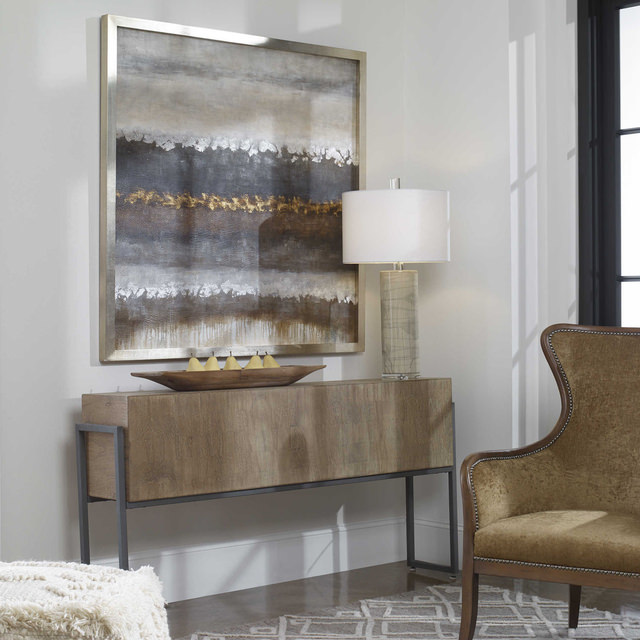
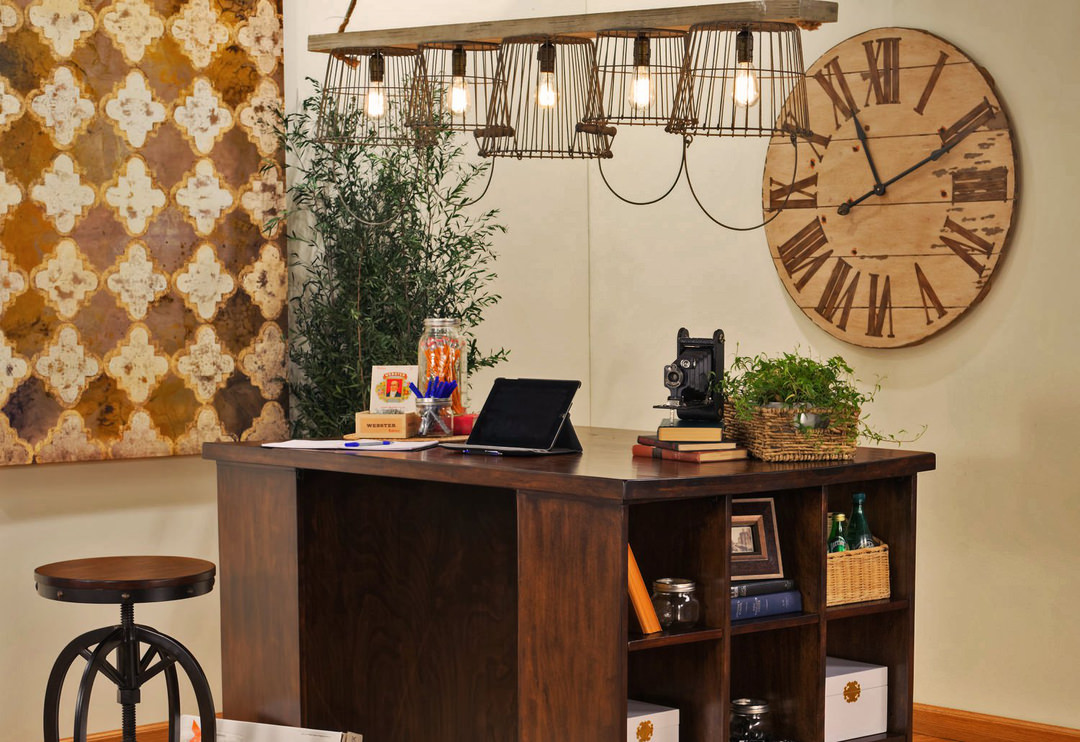
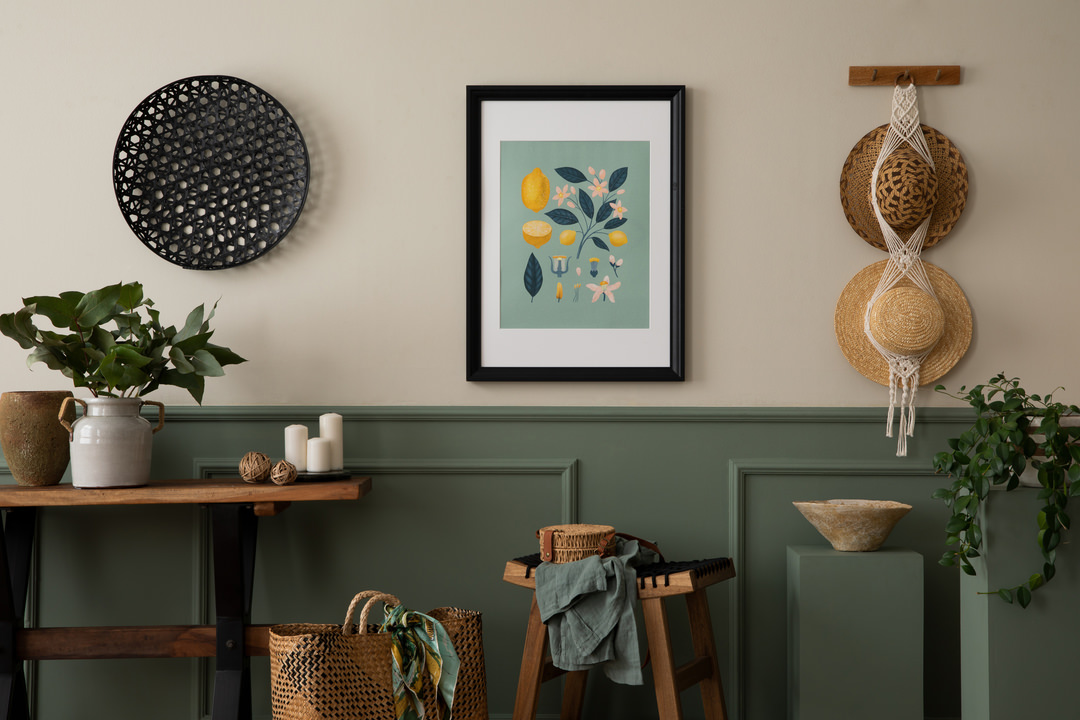
Knowing where to hang your art in your house is one thing, but what about where should you put it on the wall itself? The industry-accepted pro-tip is to hang your images at eye level, or an average 57”. But if your ceilings are really low or you are really tall, scrap that advice and imagine your wall cut into quarters. Hang your art in the second quadrant from the top.
Now, here is where things get interesting. That mark isn’t where you’ll land the nail, but where the center of your image or image-grouping will go. Surprise! Measure the distance from the center of your piece of art to the apex of the wire or the hanging brace on the back of the frame. Measure that same distance from the center mark on your wall up, and you’ll know where the nail goes.
Follow these basic tips, and your art will hang as picture-perfect as you can get.
Get more information. Read our Easy Picture Hanging Design Tips.


2025
March
February
January


2024